Create, List and View VPCs
Creating a VPC
To create a VPC, follow the below steps:
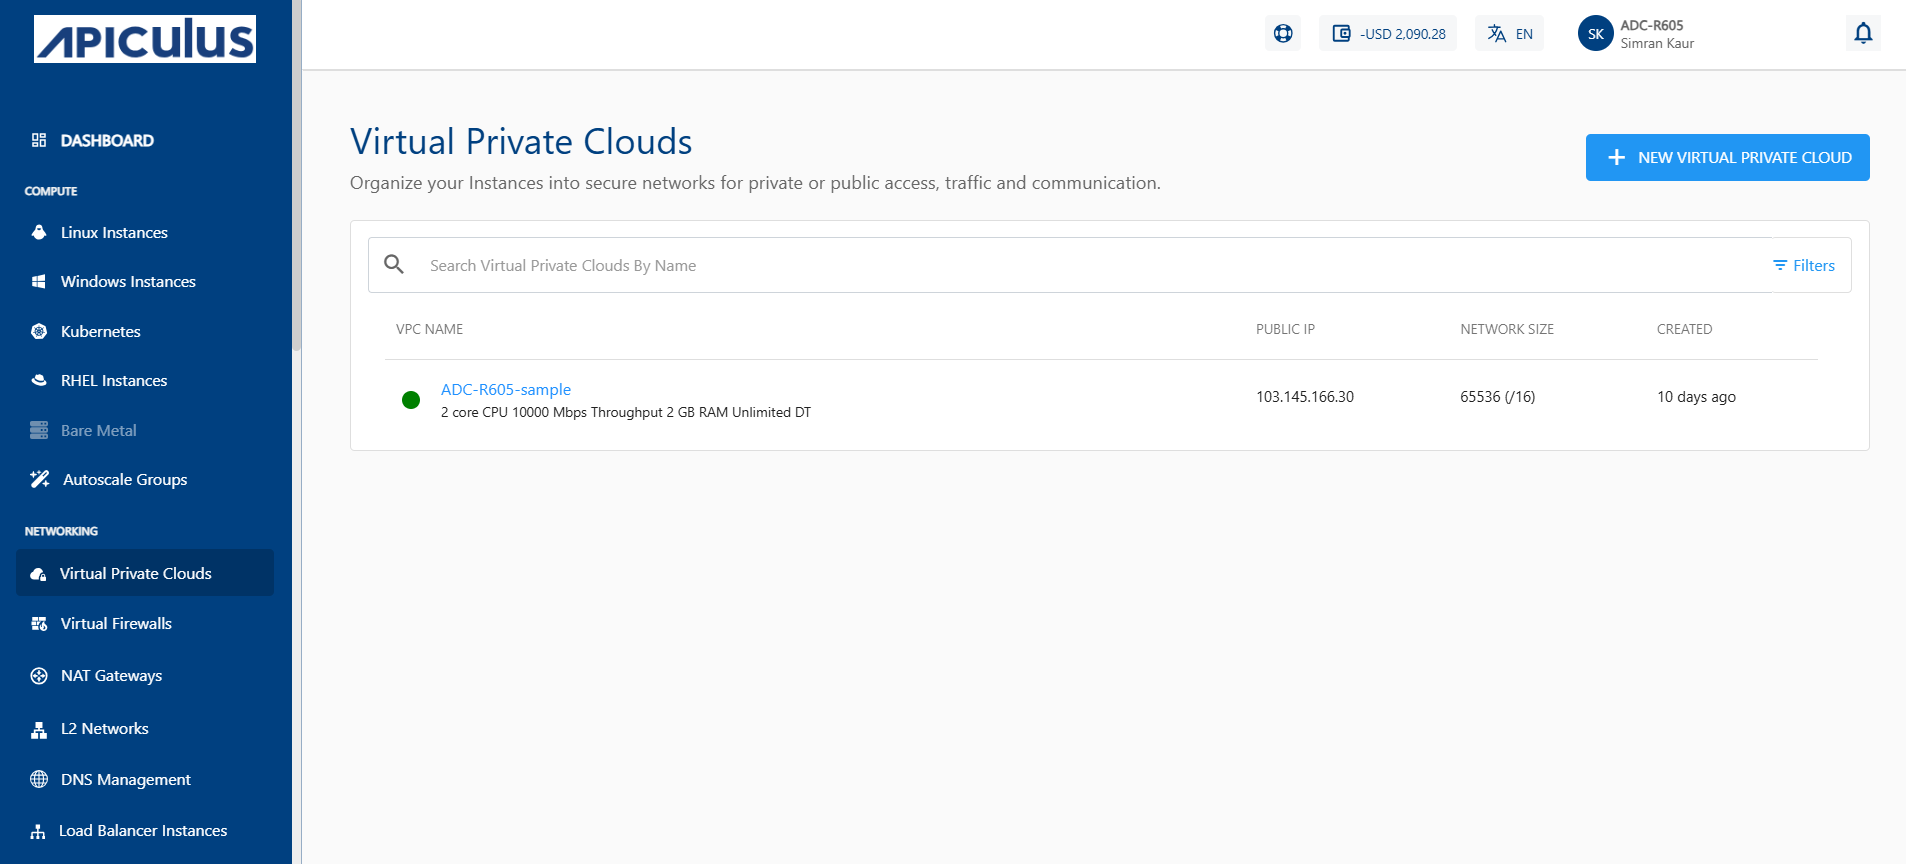
- Navigate to Networking > Virtual Private Clouds
- Click the NEW VIRTUAL PRIVATE CLOUD button.

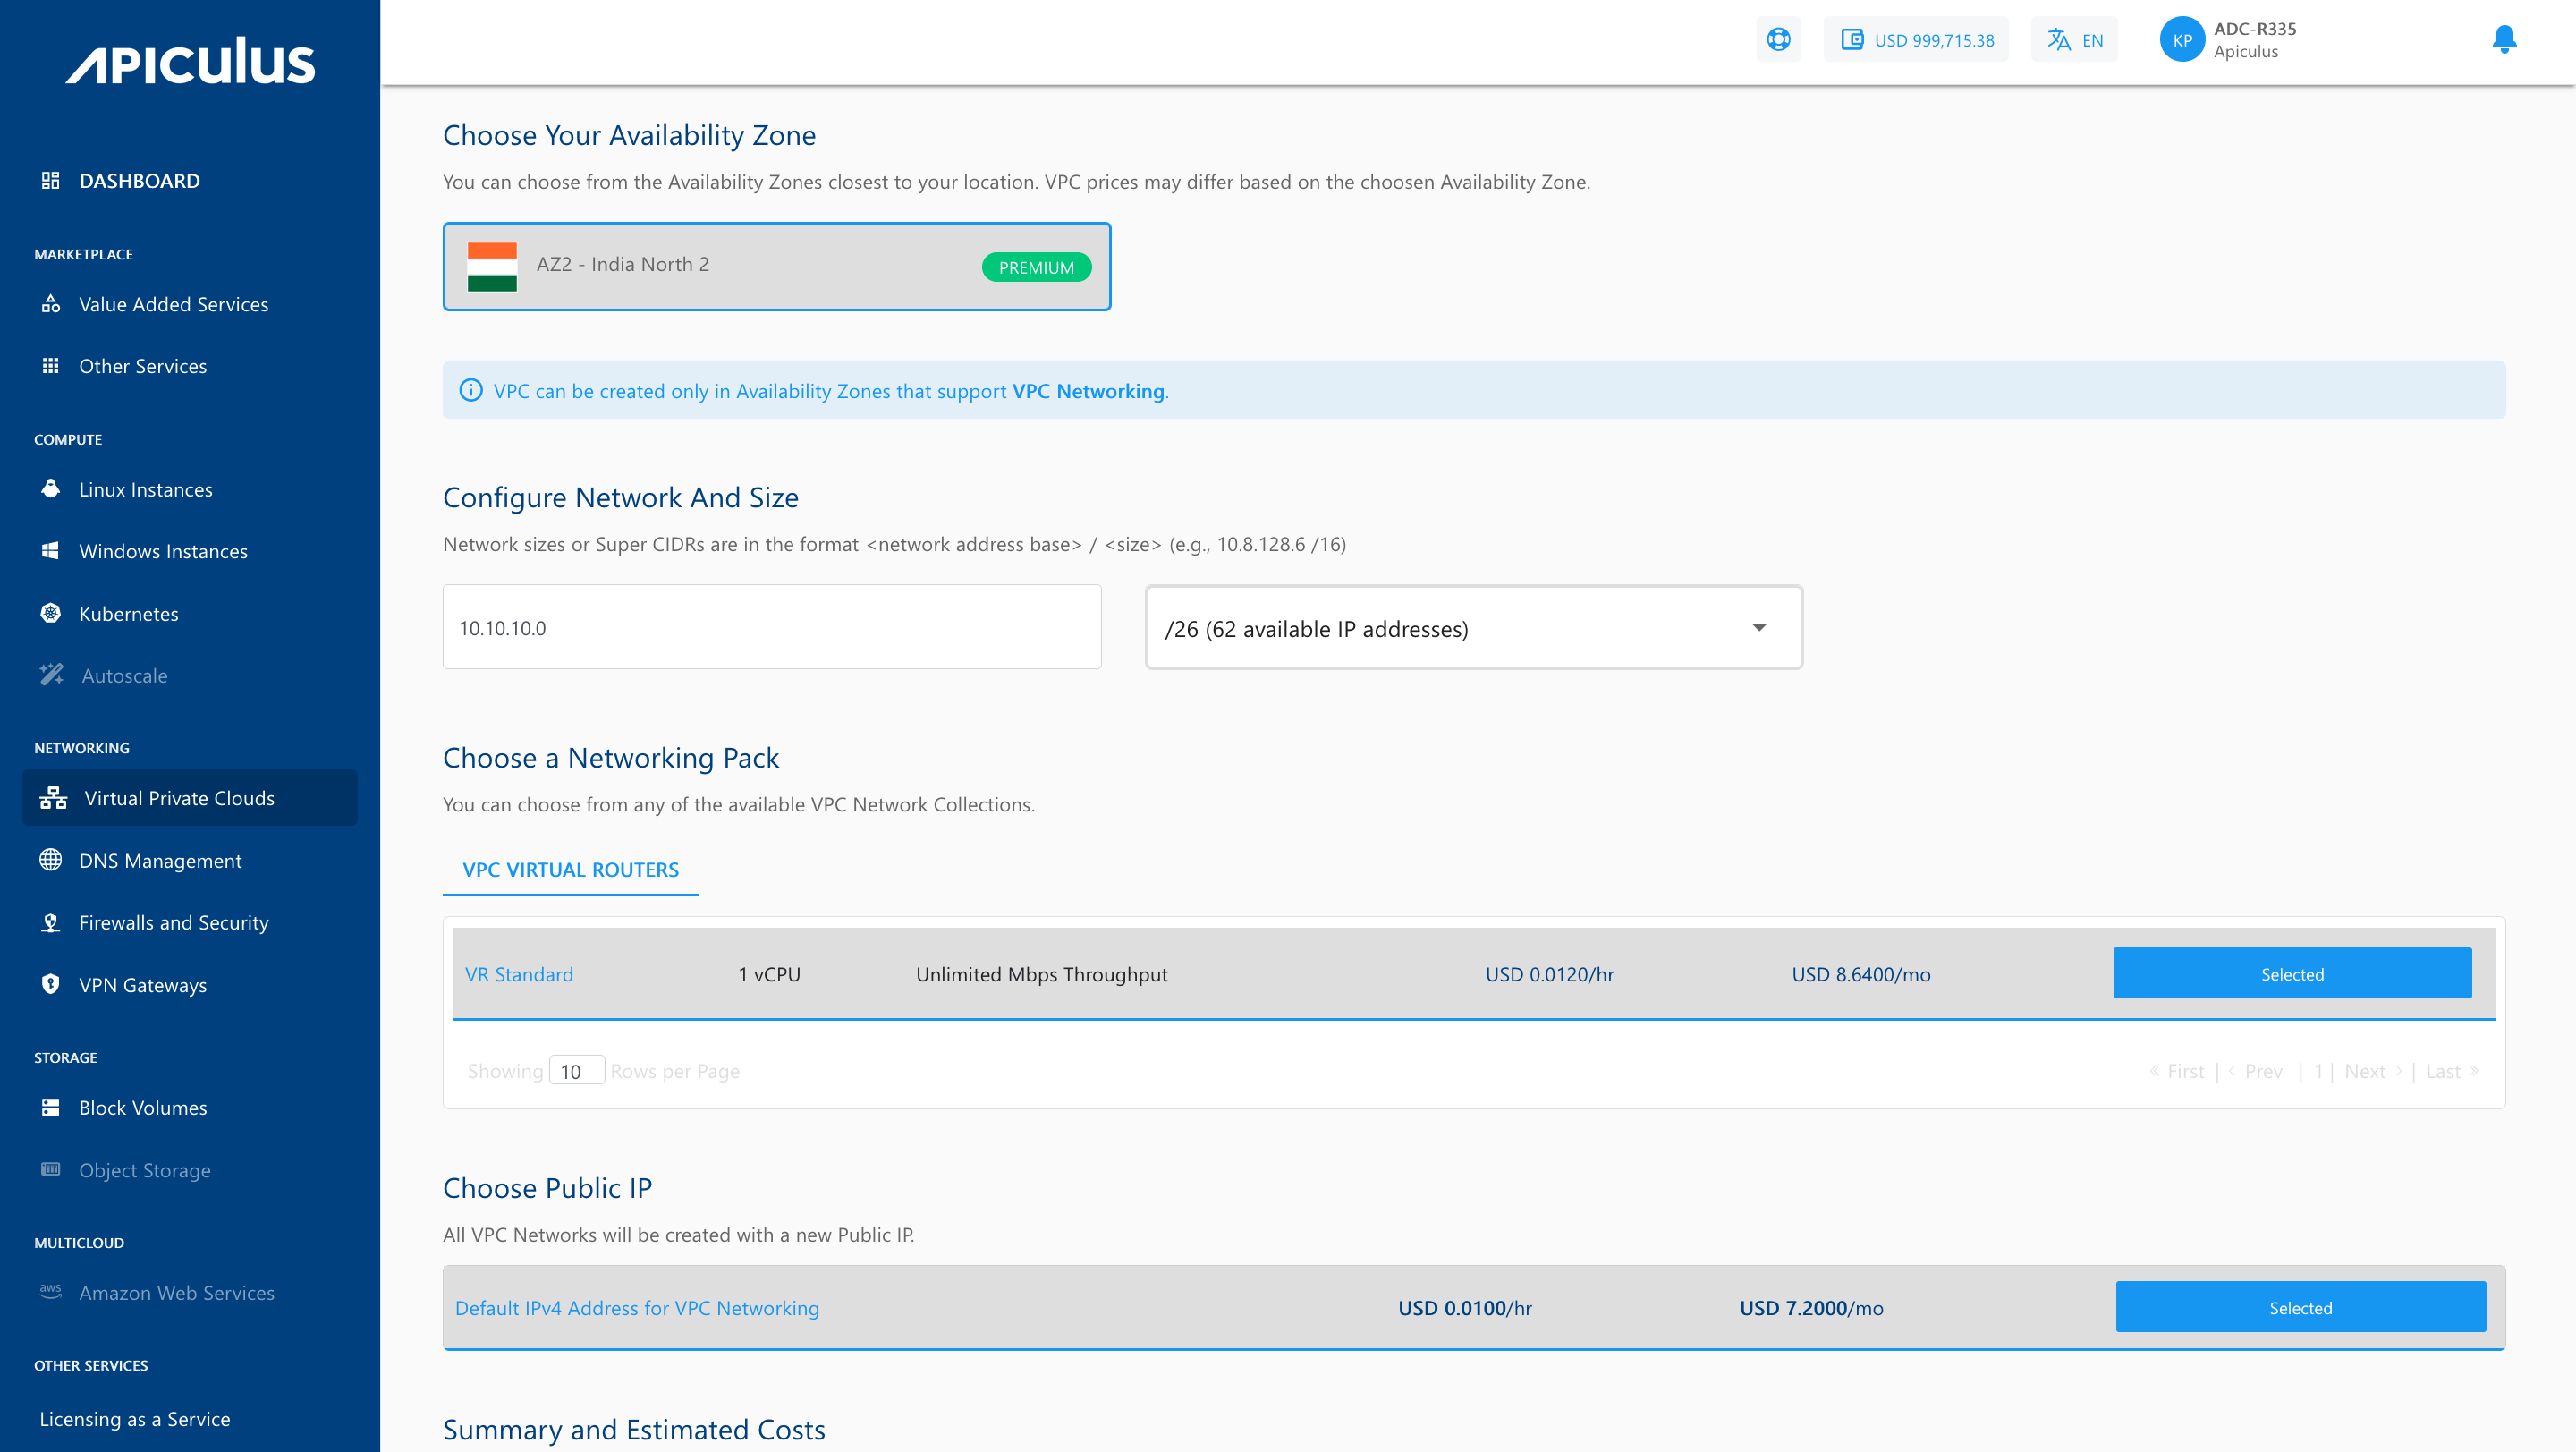
- Choose an Availability Zone, which is the geographical region where your VPC will be configured.
- Specify network address base size and select size i.e. The super CIDR for the internal IP allocation in an x.x.x.x/x format.
- Choose a Networking pack from the available network collections.
- Select the default IPv4 address for VPC Networking to create the VPC network with a new Public IP address.

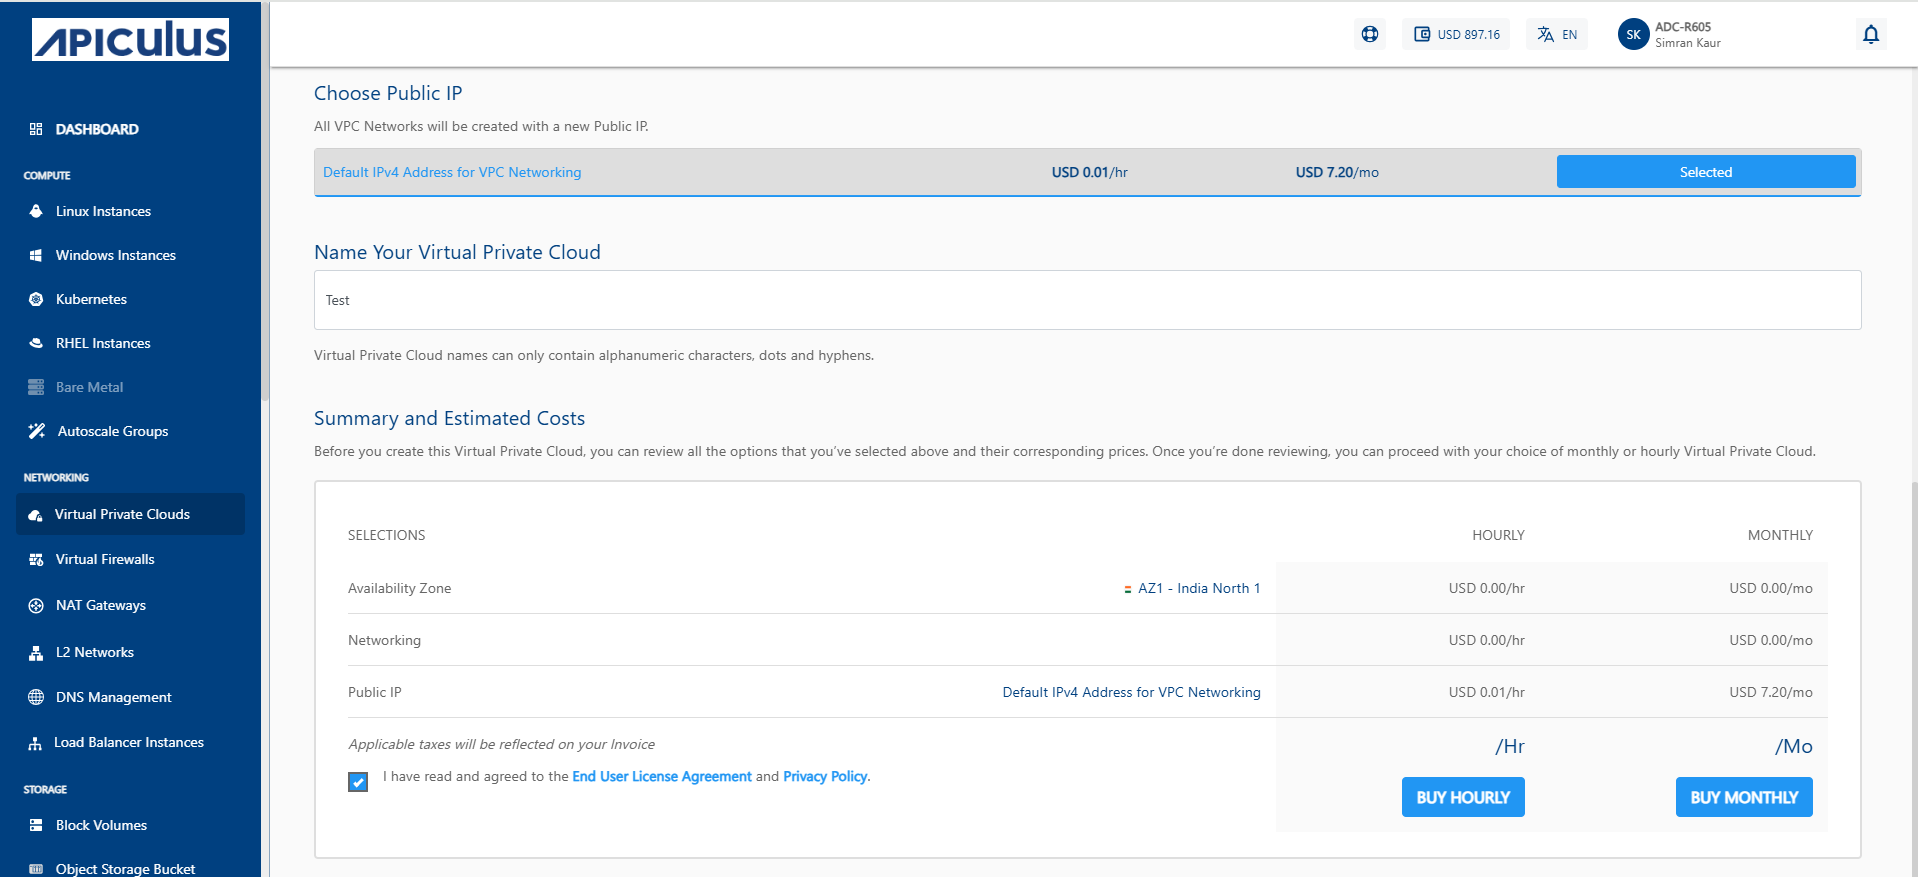
- Verify the Estimated Cost of your VPC, based on the options that you have chosen from the Summary and Estimated Costs Section.
- Select the I have read and agreed to the End User License Agreement and Privacy Policy option.
- Clicking the BUY HOURLY or BUY MONTHLY button, a confirmation pop-over will open up, and the price summary will be displayed along with the discount codes, if you have any in your account.
- You can apply any of the discount codes listed by clicking on the APPLY button.
- You can also remove the applied discount code by clicking the REMOVE button.
- Clicking on the CANCEL button, this action will be canceled.

- Click on the CONFIRM to create the VPC.
Once ready, you’ll be notified of this purchase on your email address on record.
note
This might take up to 5-8 minutes. You may use the Cloud Console during this time, but it is advised that you do not refresh the browser window.
Viewing Available VPC
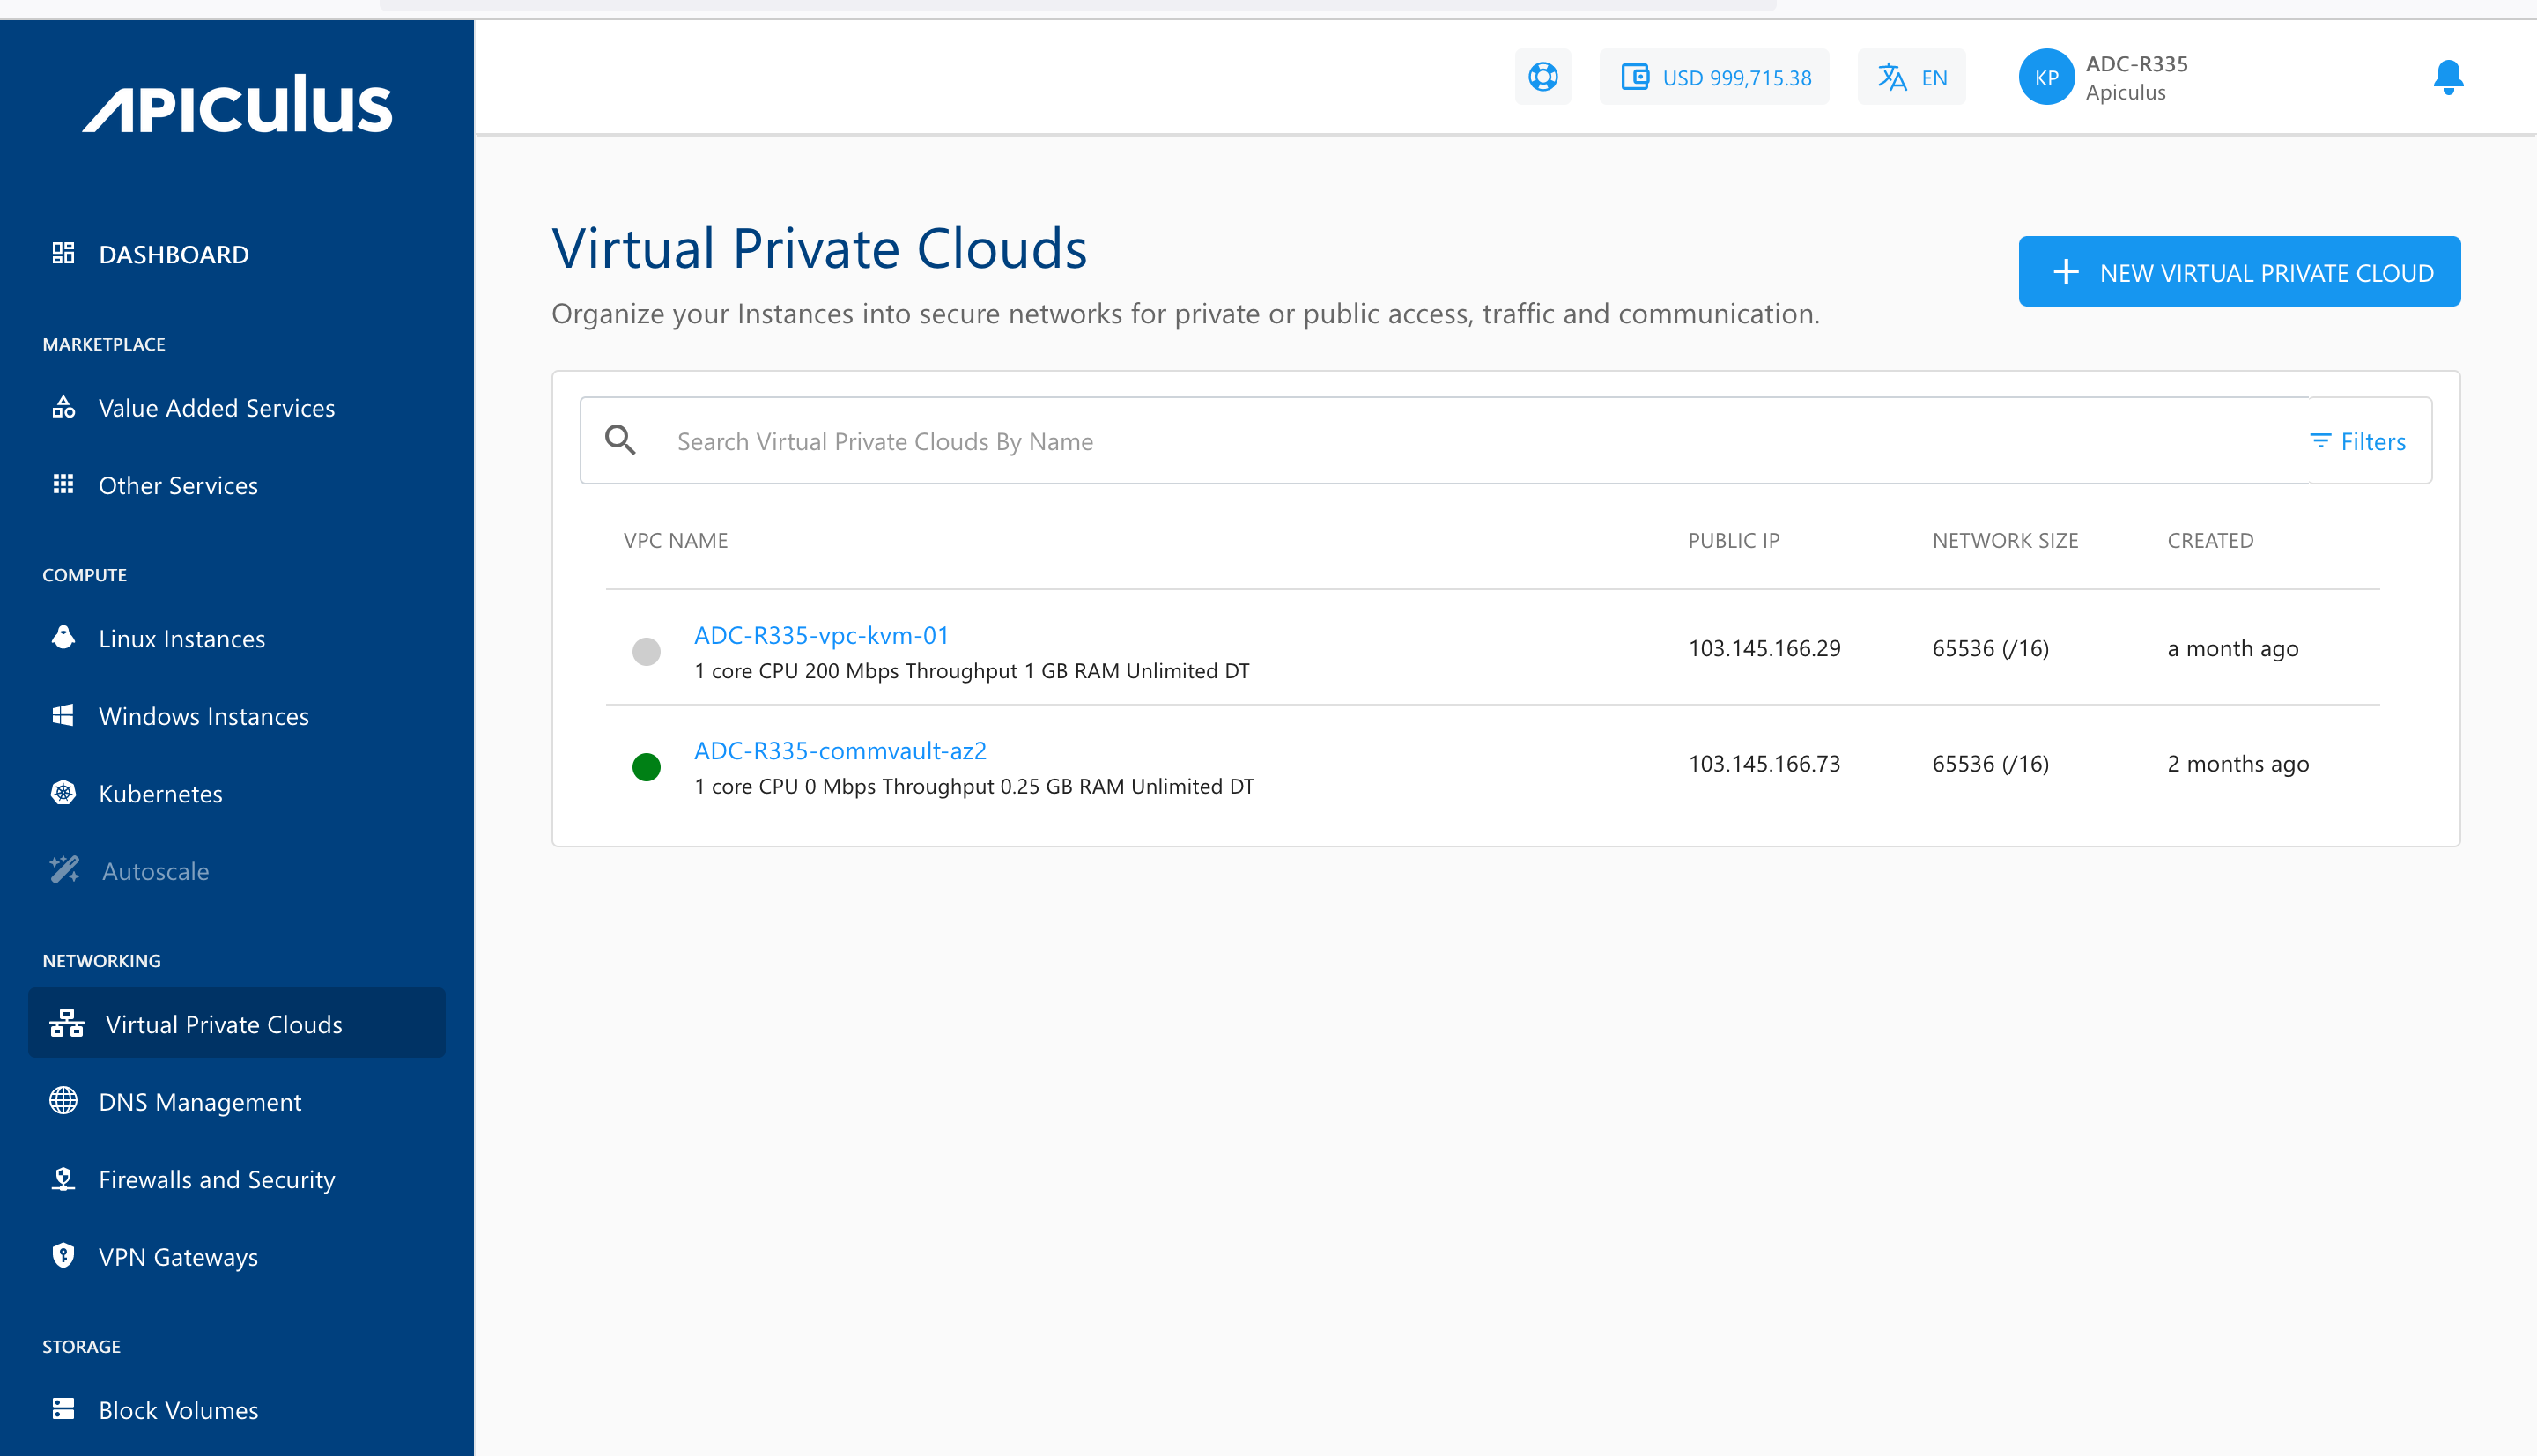
All VPC created in a user account can be accessed from Networking > Virtual Private Clouds on the main navigation panel. The listing will have the following details.
- VPC Name
- Public IP
- Network Size
- Created
