Configuring Virtual Firewall Instances
Apiculus offers Virtual Firewall Instances as integrations with pfSense® and FortiGate VM.
You can monetise the service with the following components:
- Firewall provider
- Appliance config
- Public IPv4
- Additional IPv4
- Public Gateway
Follow these steps to configure Virtual Firewall Instances:
-
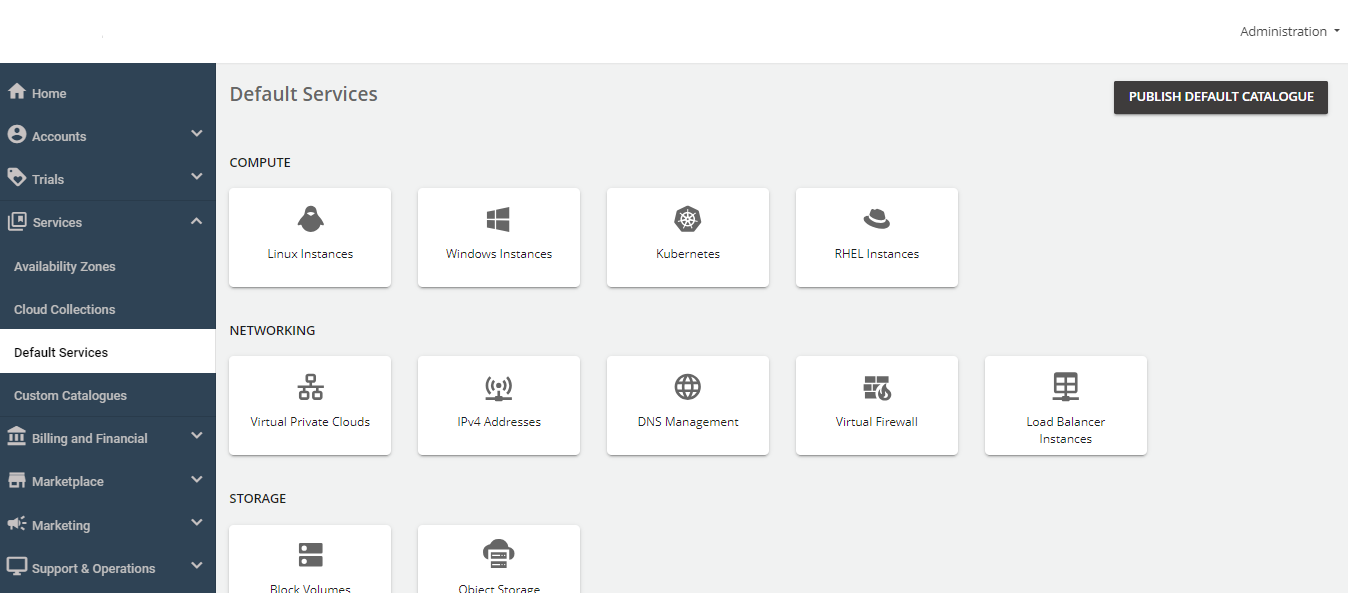
Navigate to Services > Default Services.
-
Under Networking, select Virtual Firewall.
-
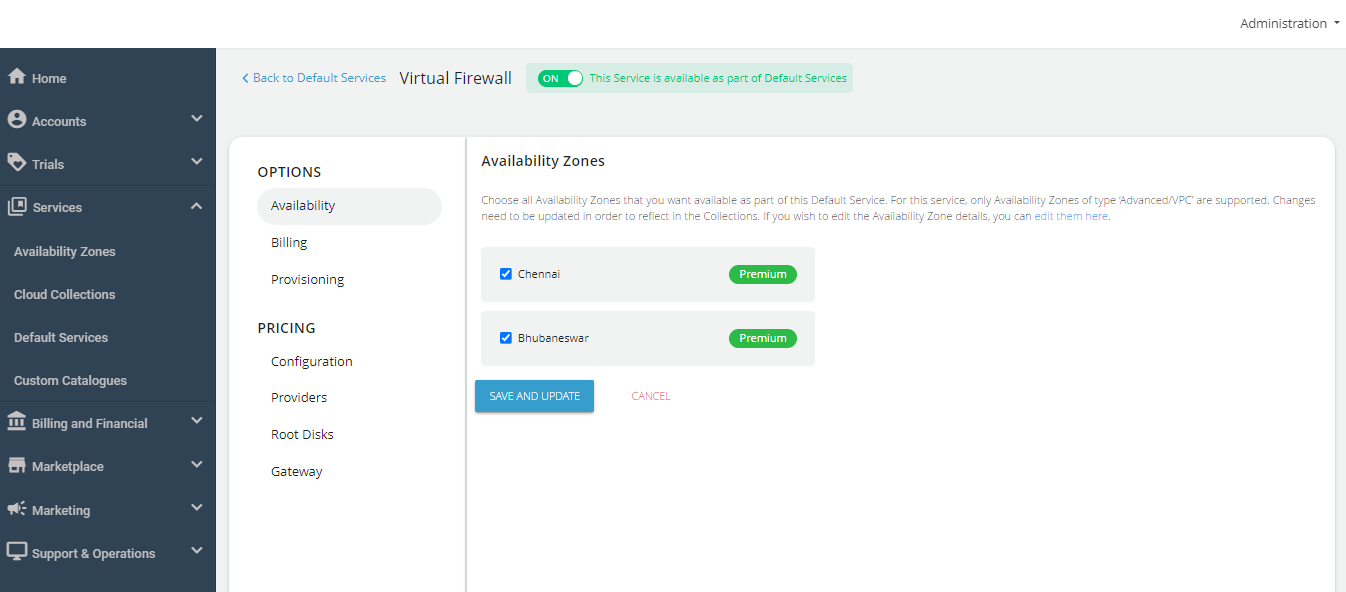
Turn on the toggle switch at the top to make this service available as part of the default services. This action will enable all associated sections.
-
Under Availability Zones, select the availability zone from which you want to offer the service, then click Save and Update.
-
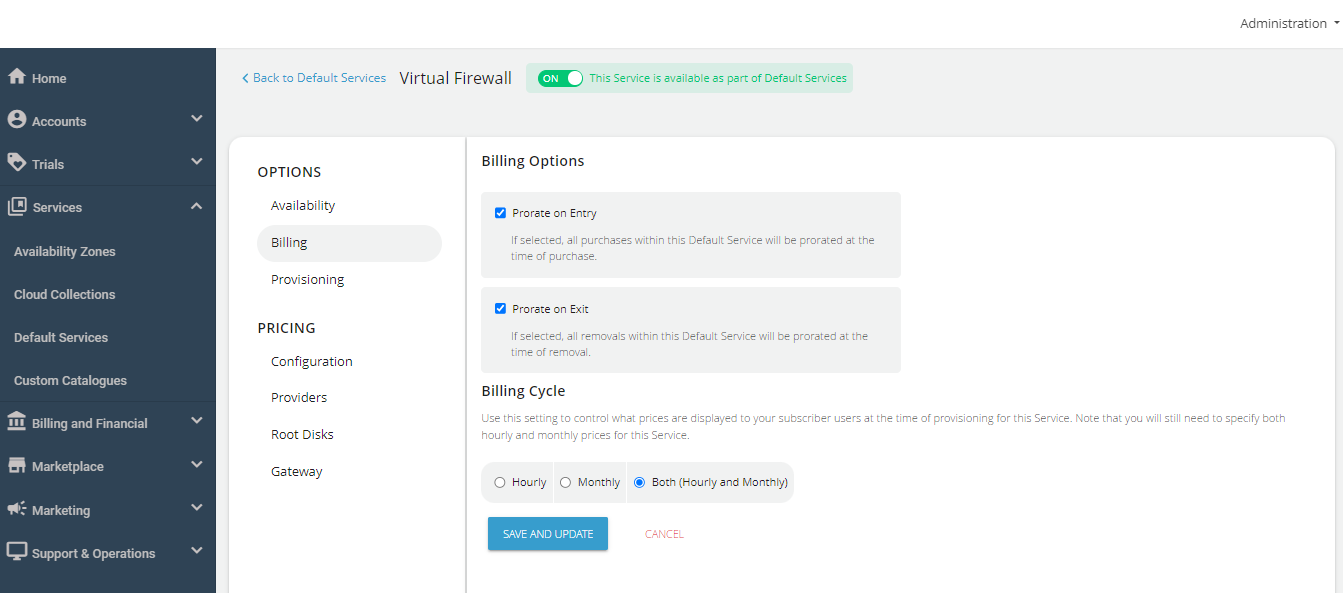
Under the Billing section, select the Billing Options.
- Prorate on Entry: Purchases will be pro-rated at the time of purchase of services.
- Prorate on Exit: Removals will be pro-rated at the time of removal of services.
-
Select the Billing Cycle to be displayed to the subscribers: Hourly, Monthly, or Both.
-
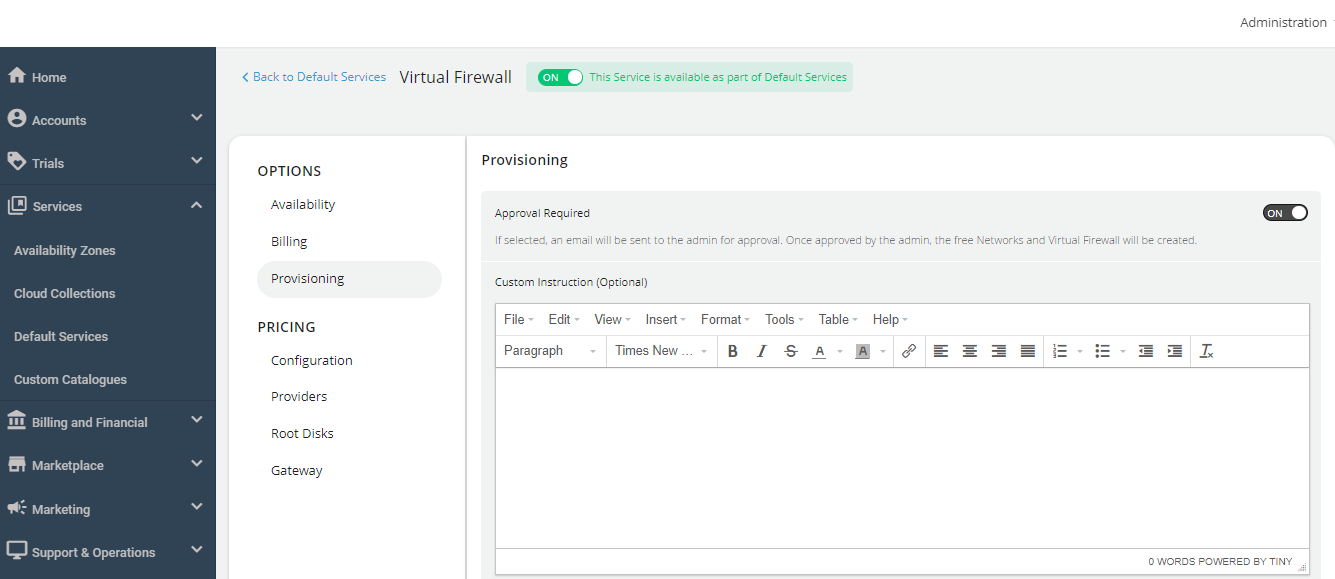
To provision, Virtual Firewall Instances to an approval-based system, navigate to Provisioning and turn on the Approval Required toggle button. Additionally, you can send custom instructions to end-users upon approval and attach up to five files, each up to three MB.
The PRICING options include the following:
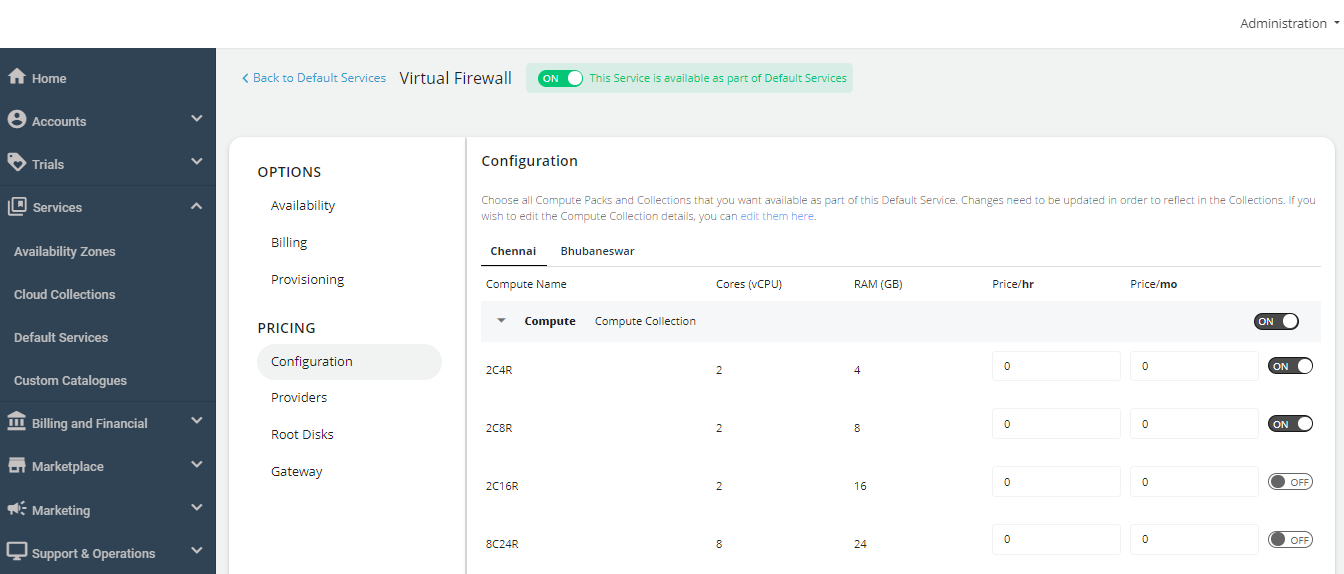
-
Navigate to the Configuration section, select the Availability Zone, and enable the desired compute packs for the end-users.
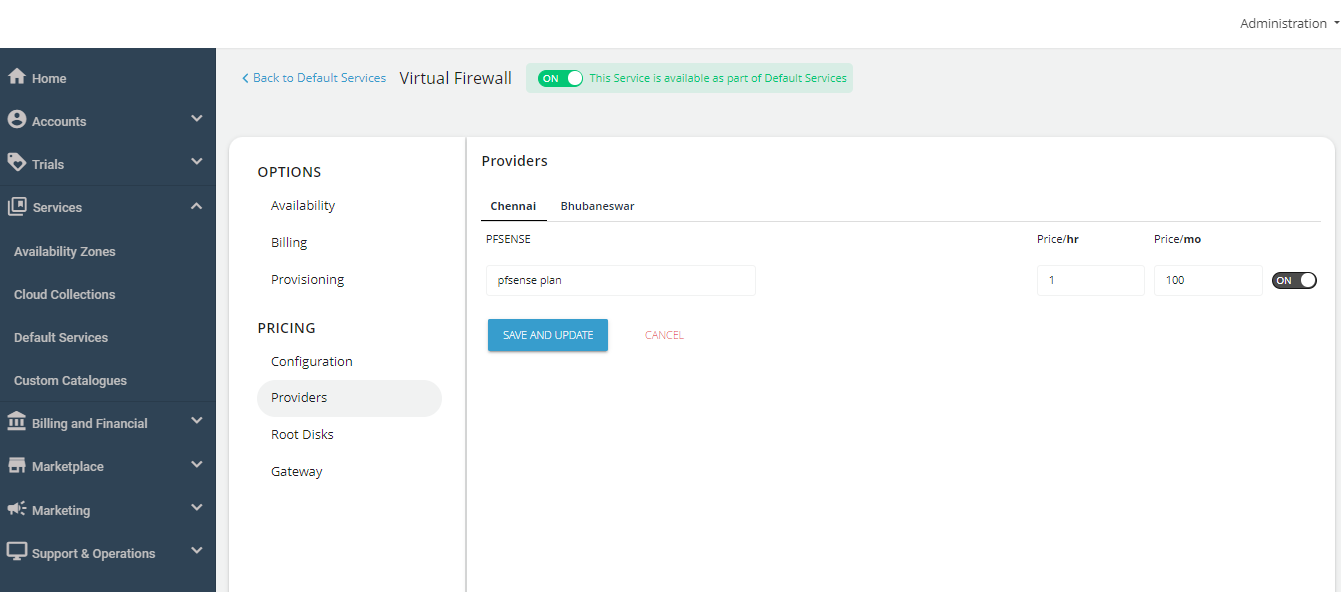
-
Navigate to the Providers section, select the Availability Zone, and activate both providers—pfSense and Fortinet based on your requirement. Specify the descriptions and then establish the pricing accordingly.
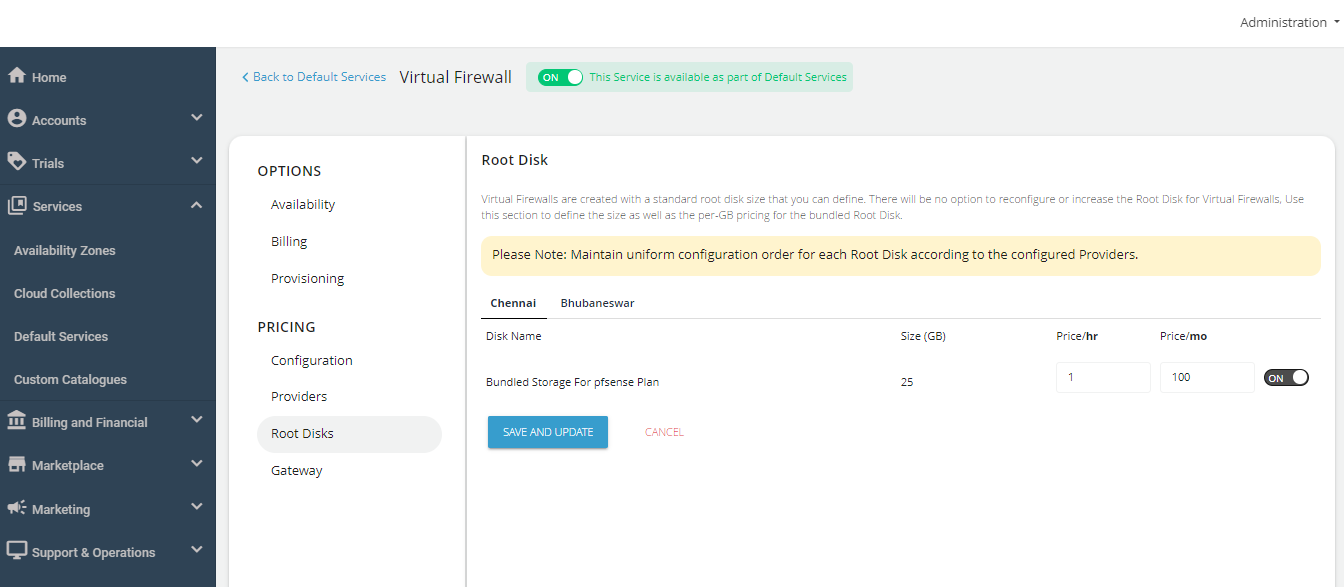
-
Navigate to the Root Disks section, select the Availability Zone and enable packs for the designated collection.
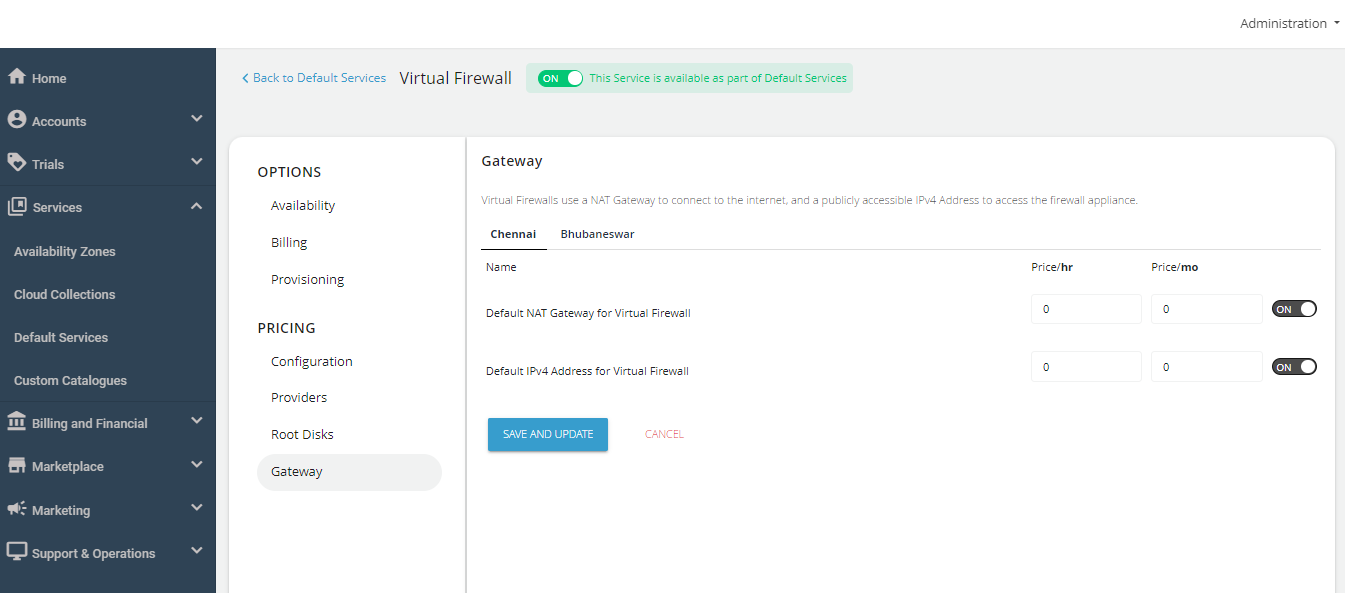
-
Navigate to the Gateway section, select the Availability Zone, and and define the pricing for the NAT gateway and IPv4 address.
Finally, return to Default Services and click on PUBLISH DEFAULT CATALOGUE.