Configuring Linux Instances
Follow these steps to configure Linux Instances:
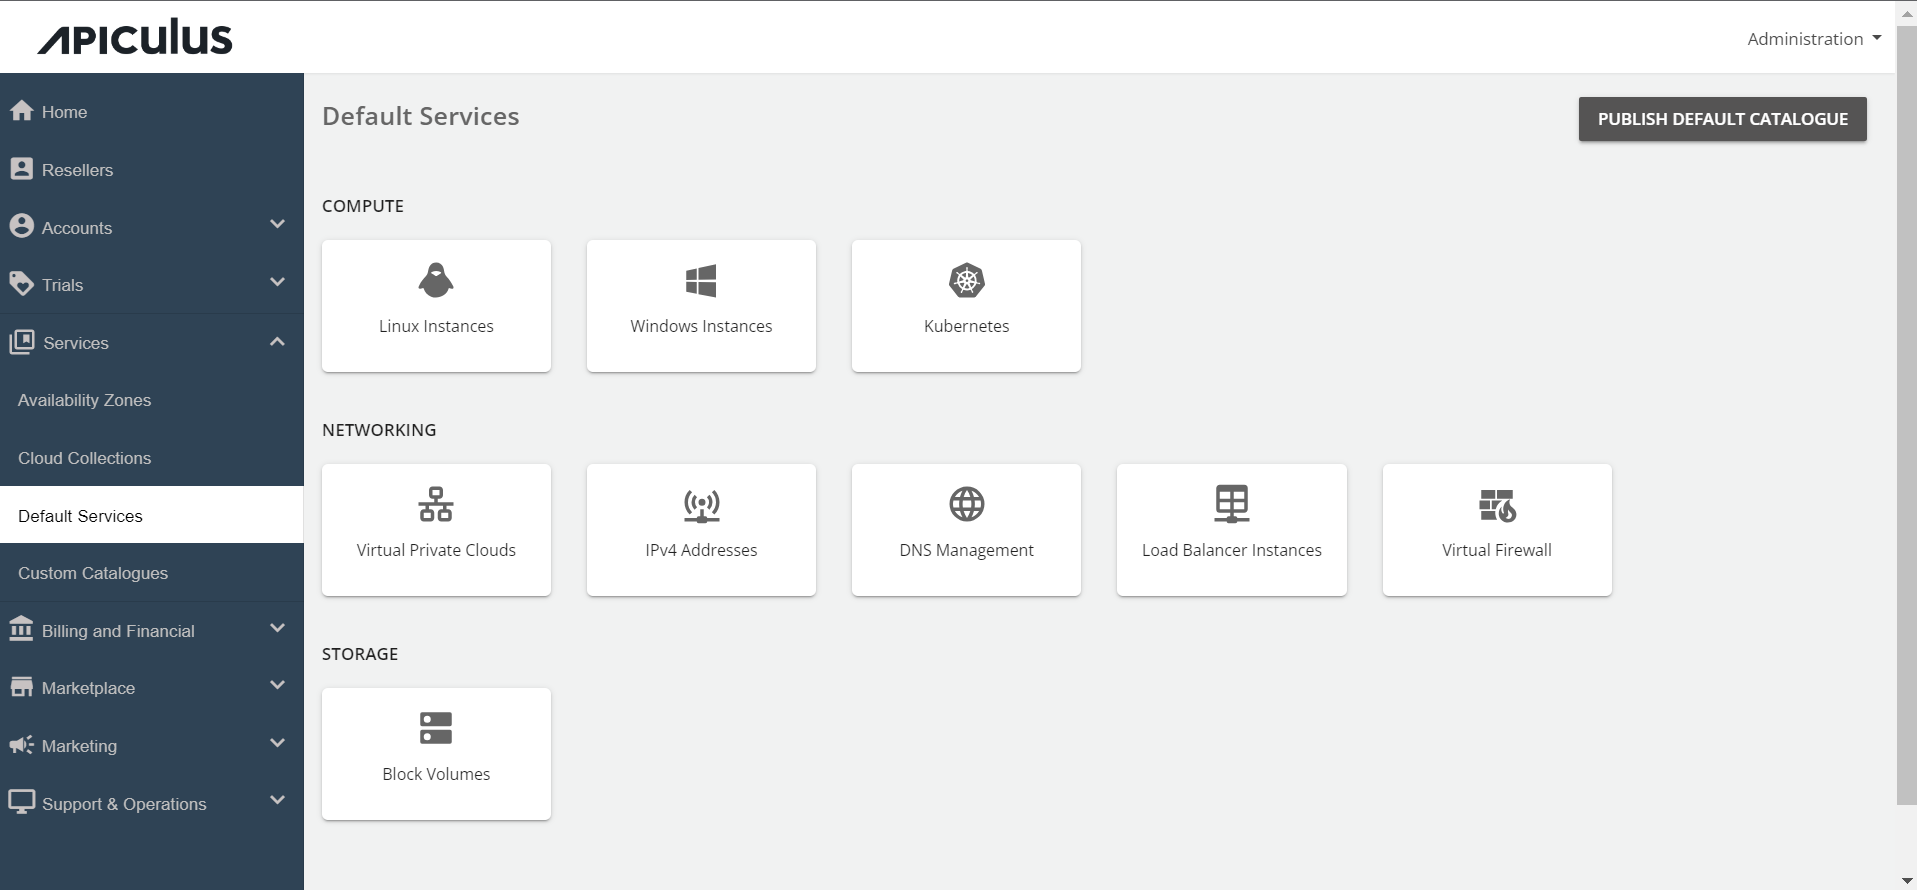
- Go to the Default Services in the primary navigation menu.
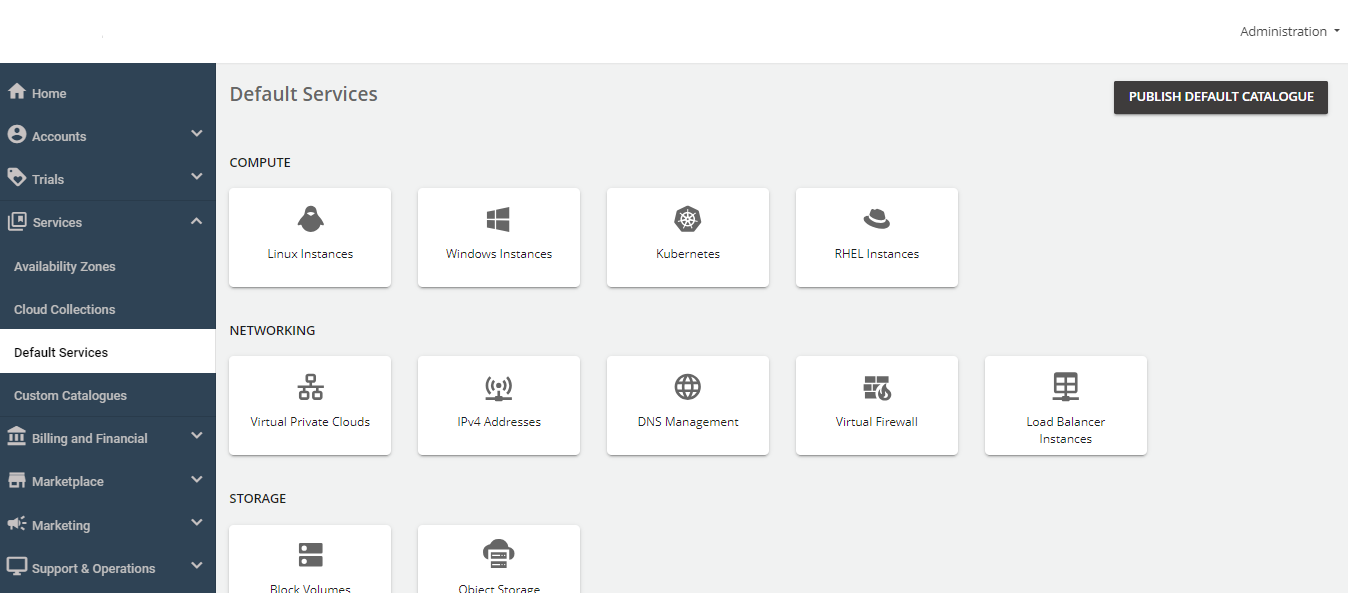
- Select Linux Instances under the Compute section.
- Turn on the switch at the top to make this service available as part of the default services. This action will enable all associated sections.
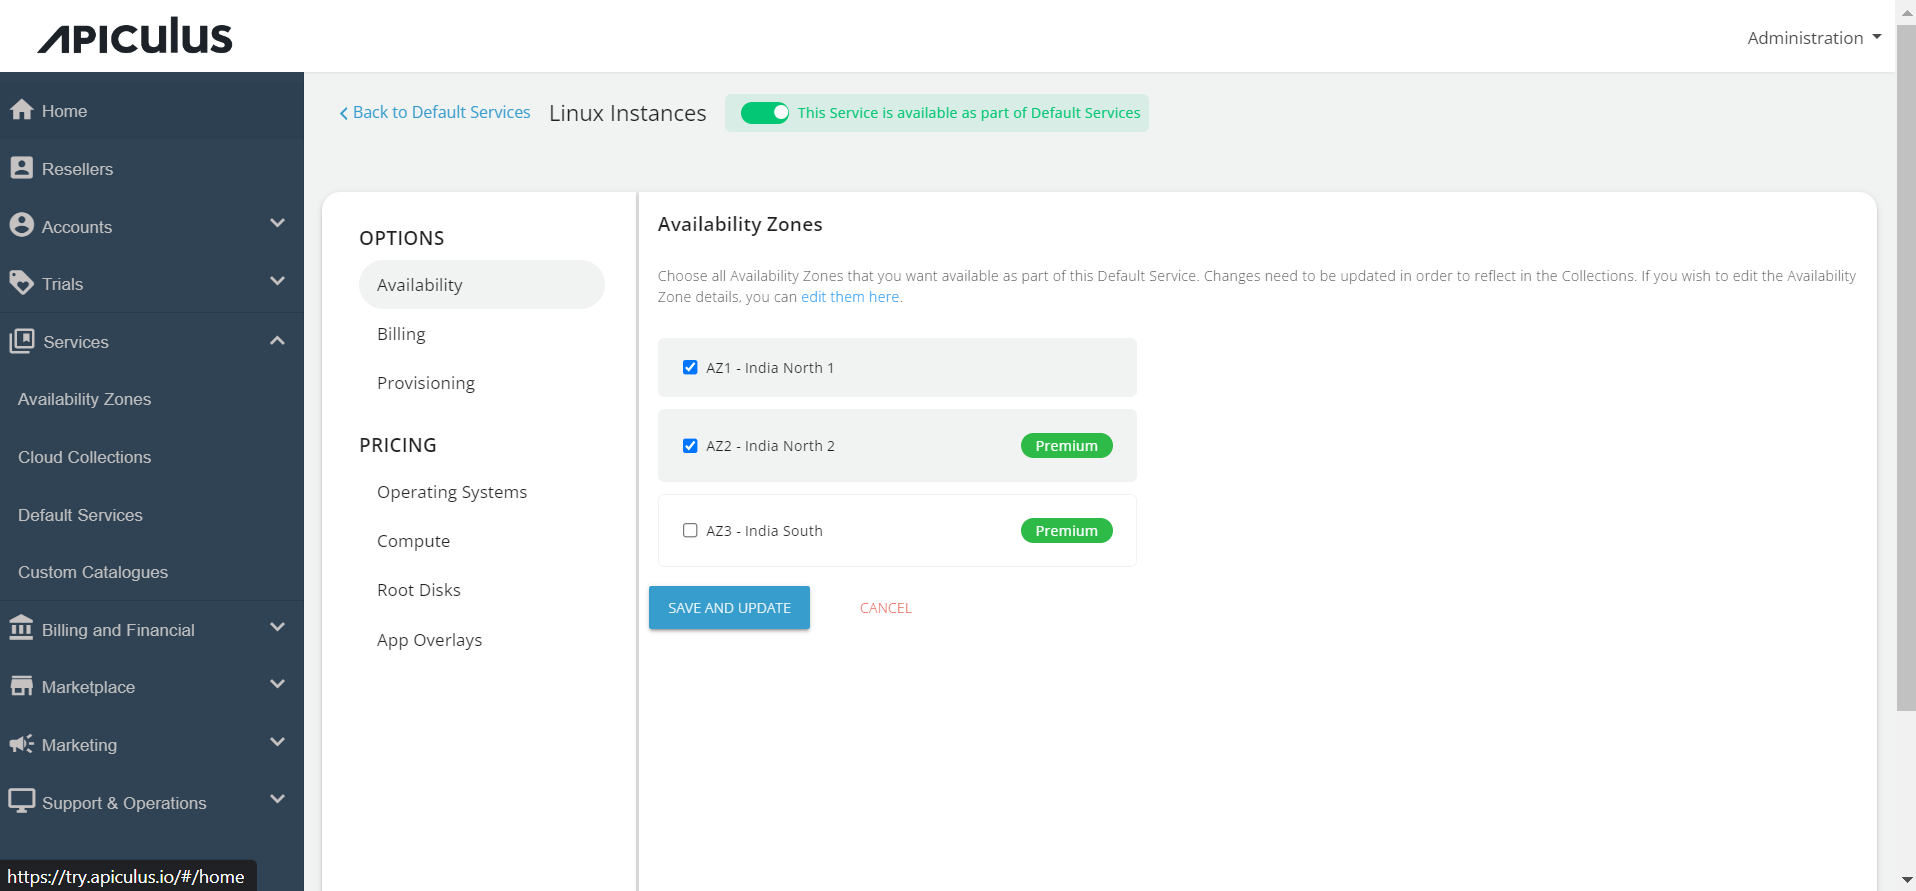
- Move to the Availability section. Choose the availability zone from which you want to offer the service, then click Save & Update.
-
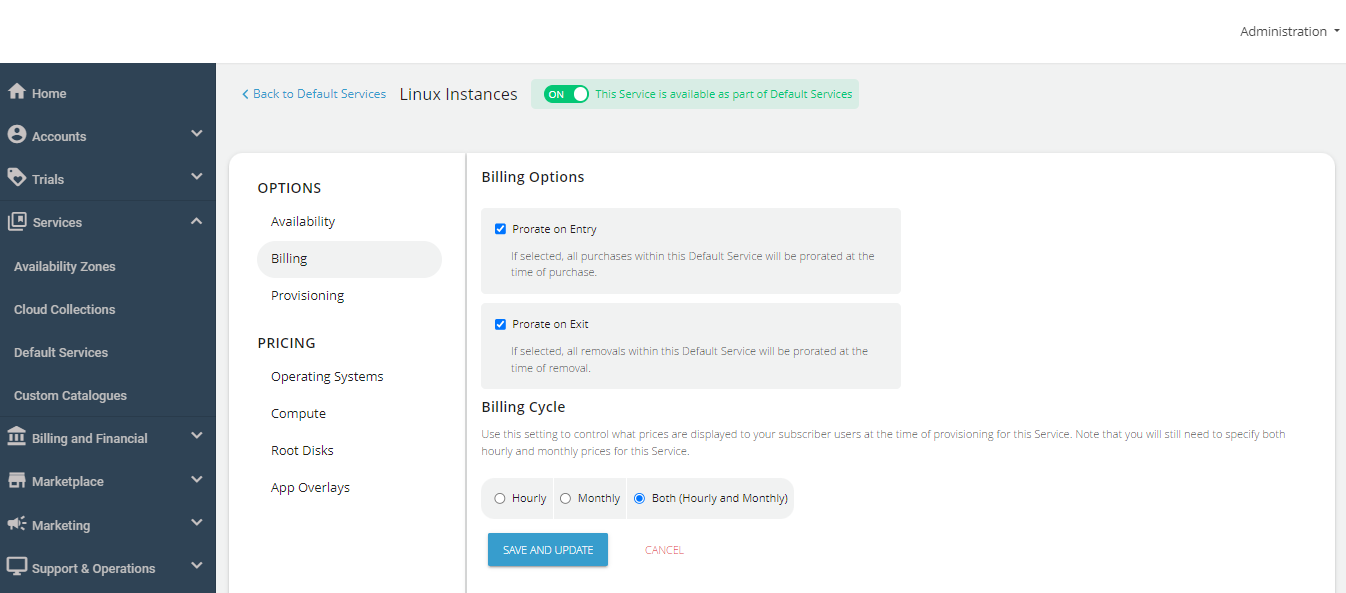
Under the Billing section, select the Billing Options.
- Prorate on Entry: Purchases will be pro-rated at the time of purchase of services.
- Prorate on Exit: Removals will be pro-rated at the time of removal of services.
-
Select the Billing Cycle to be displayed to the subscribers: Hourly, Monthly, or Both.
-
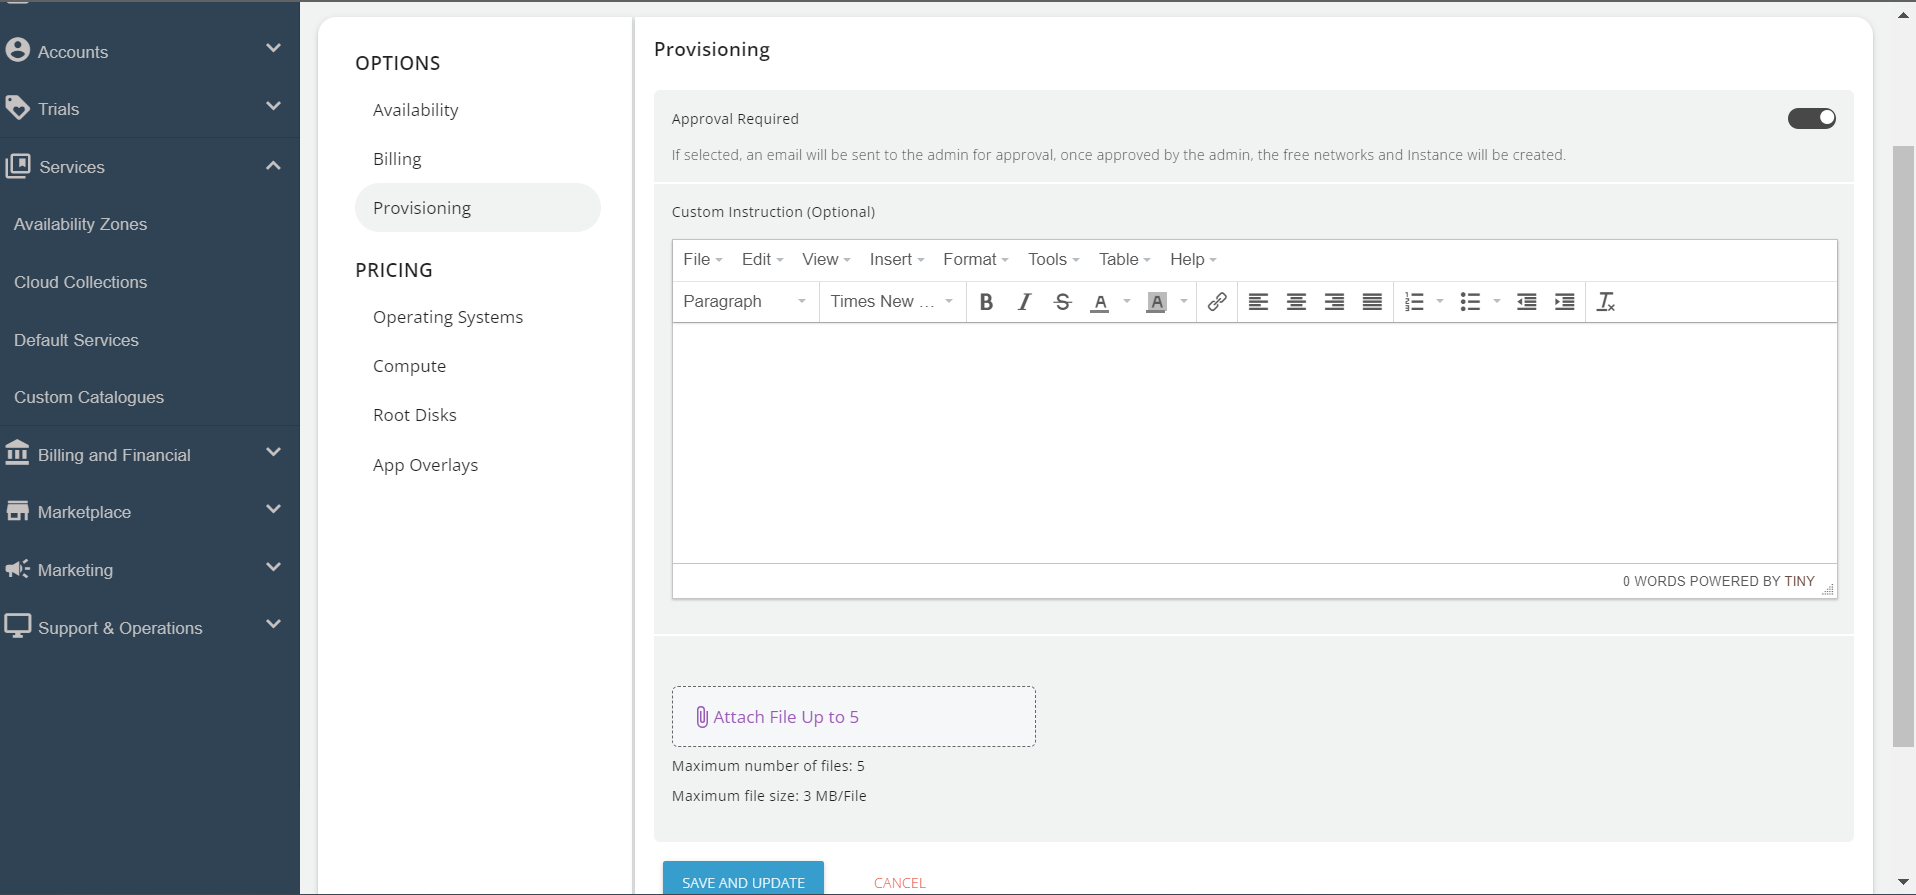
Linux Instances can be provisioned to an approval-based system within the Provisioning section. This is done by activating the "Approval Required" switch, offering additional functionalities such as sending custom instructions to end-users upon approval and attaching up to five files, each up to 3 MB.
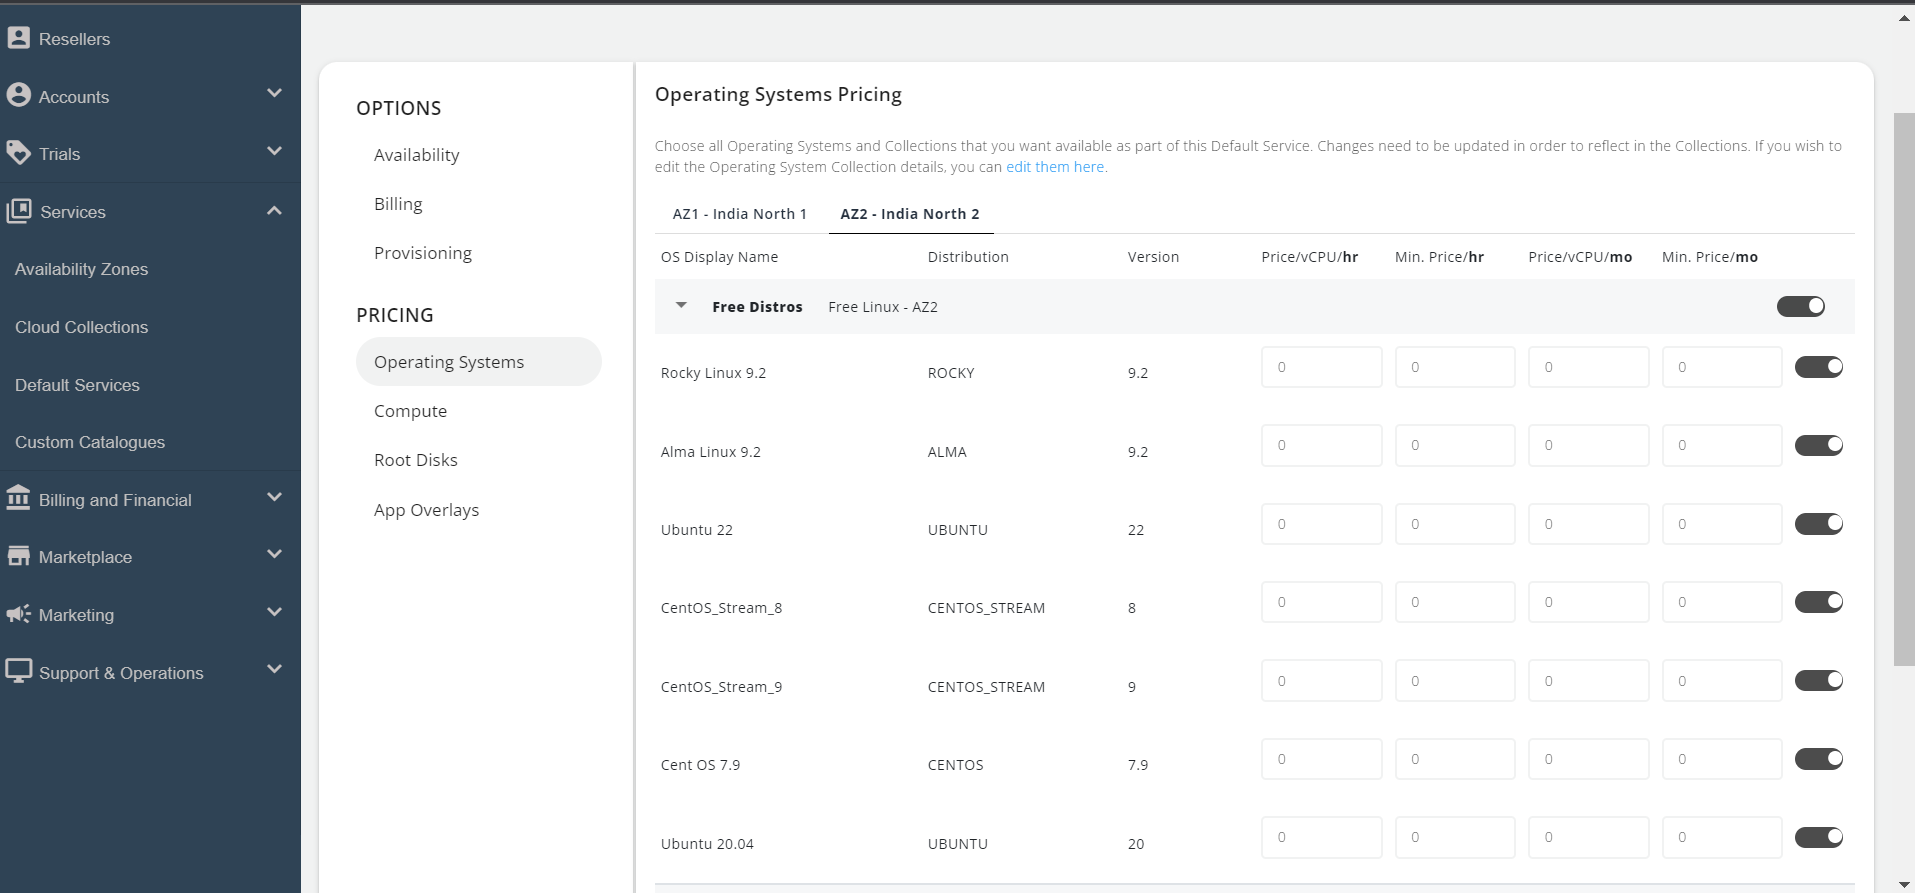
- Click on the Operating System under Pricing, click on the Availability Zones, and enable the particular packs inside the collections.
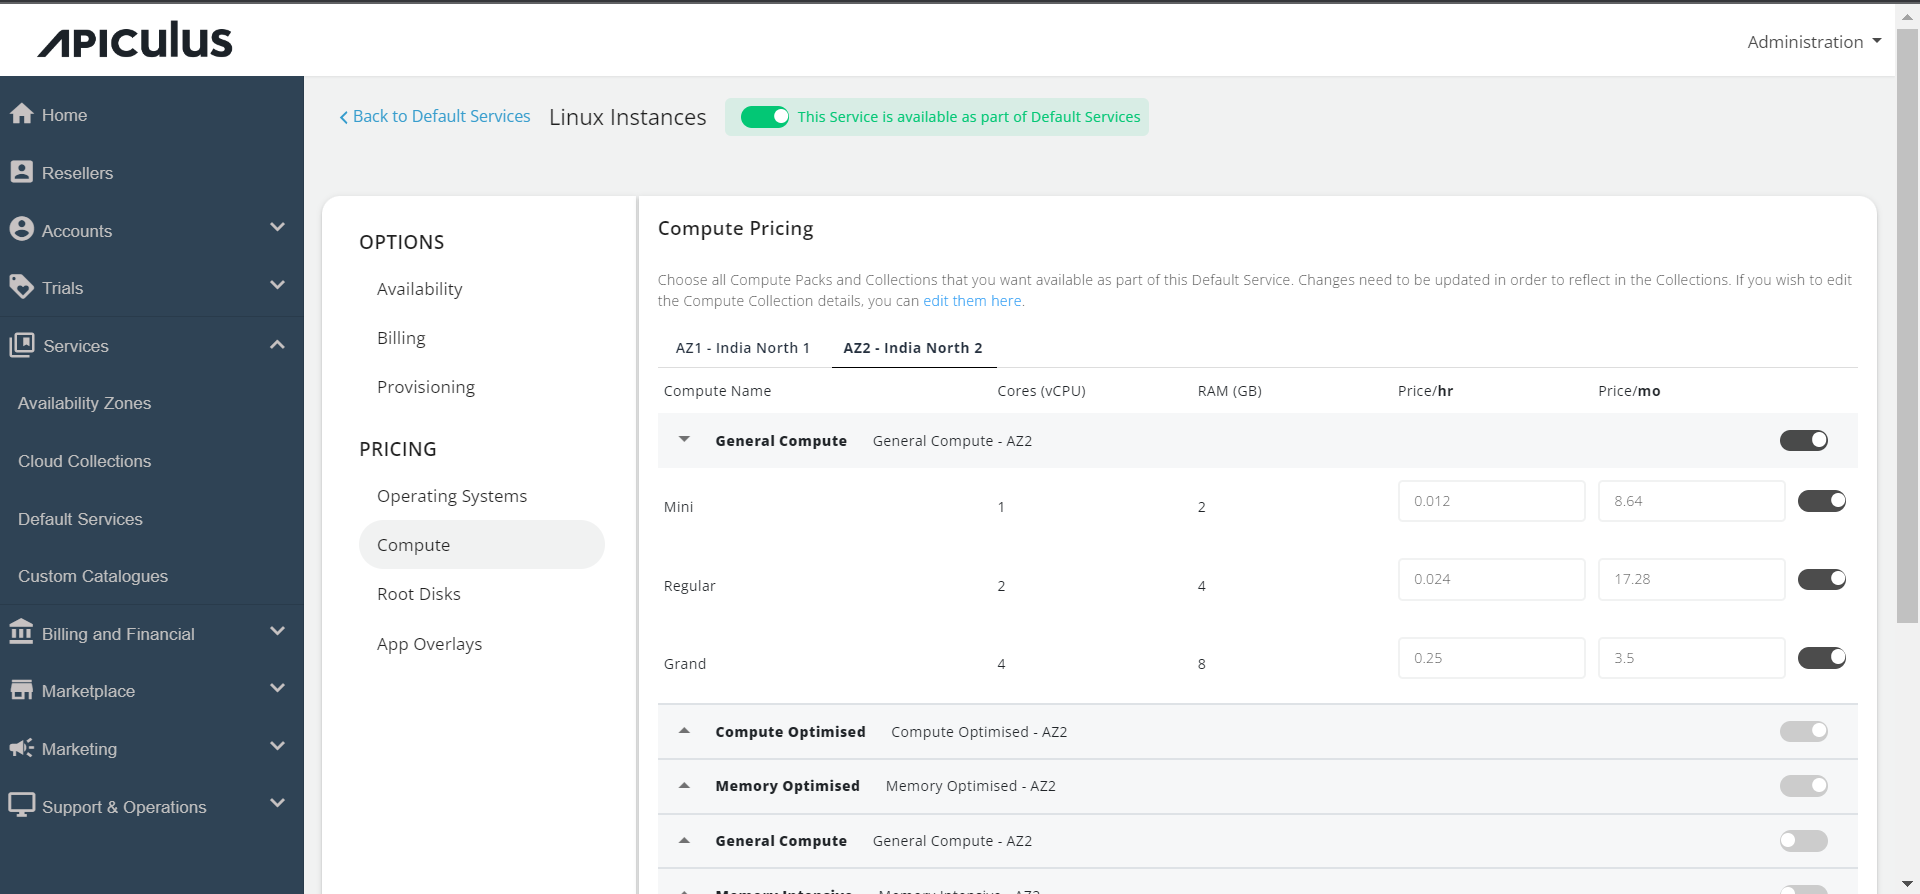
- Click on the Compute section, click on the Availability Zone, and enable the compute pack of the specific collection you want to offer to the end user.
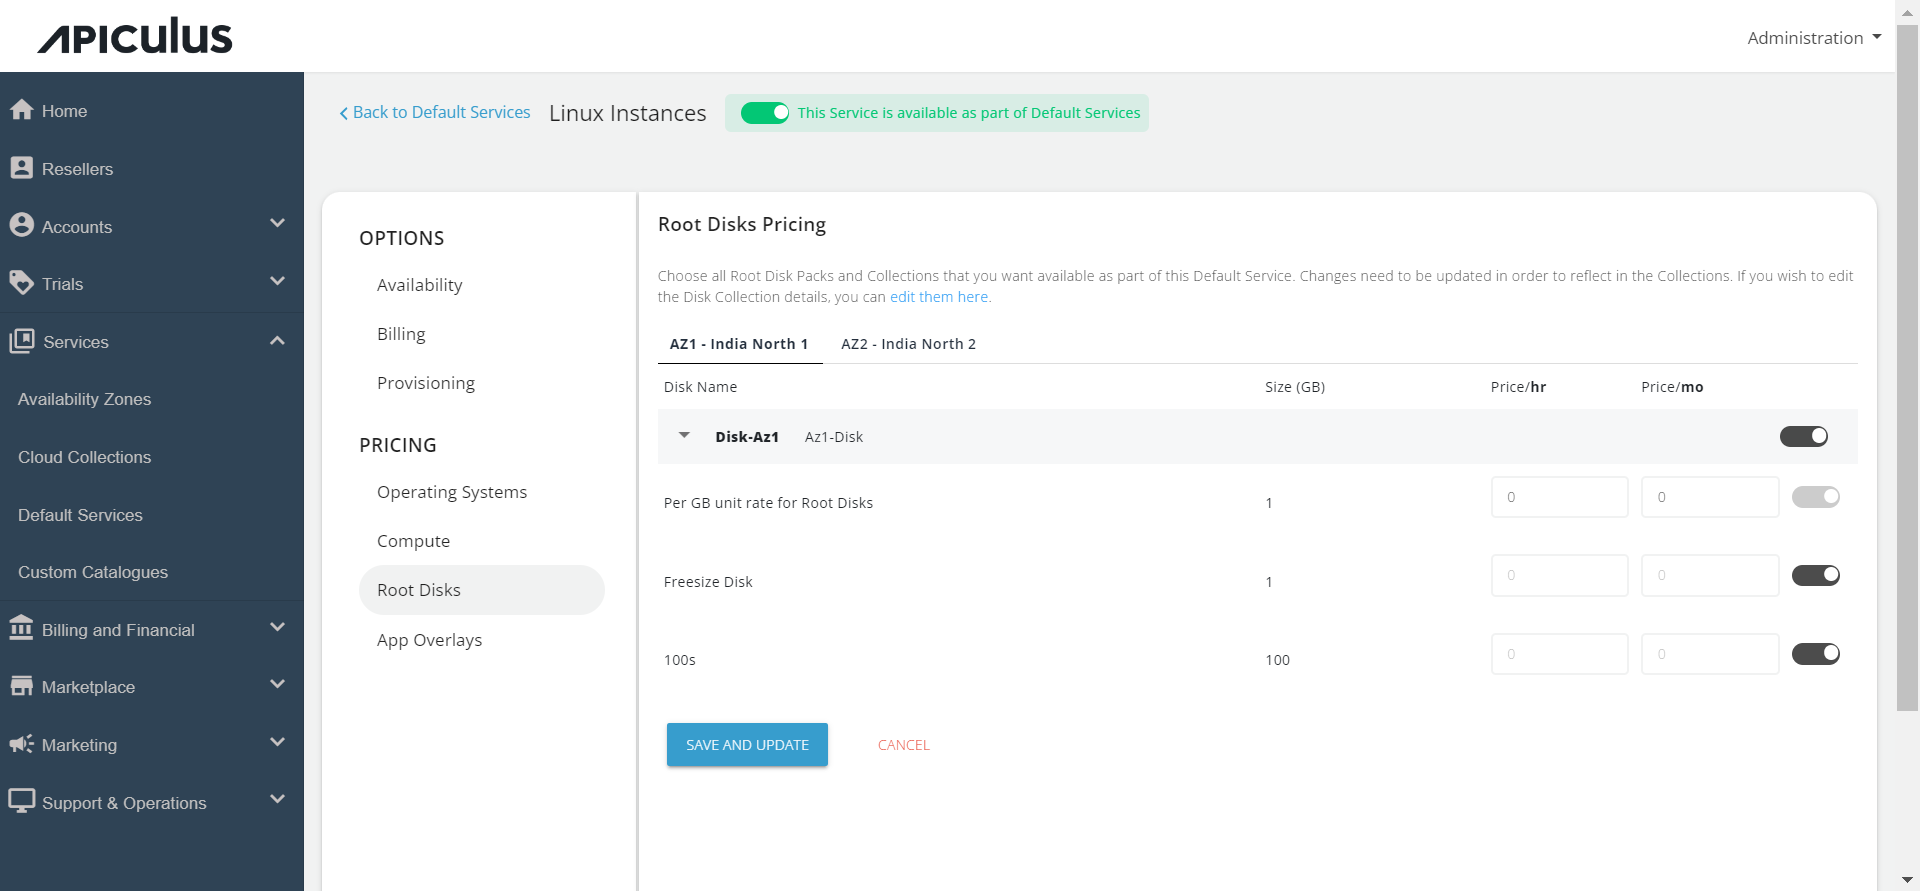
- In the Root Disks section, select the availability zone and enable packs for the designated collection.
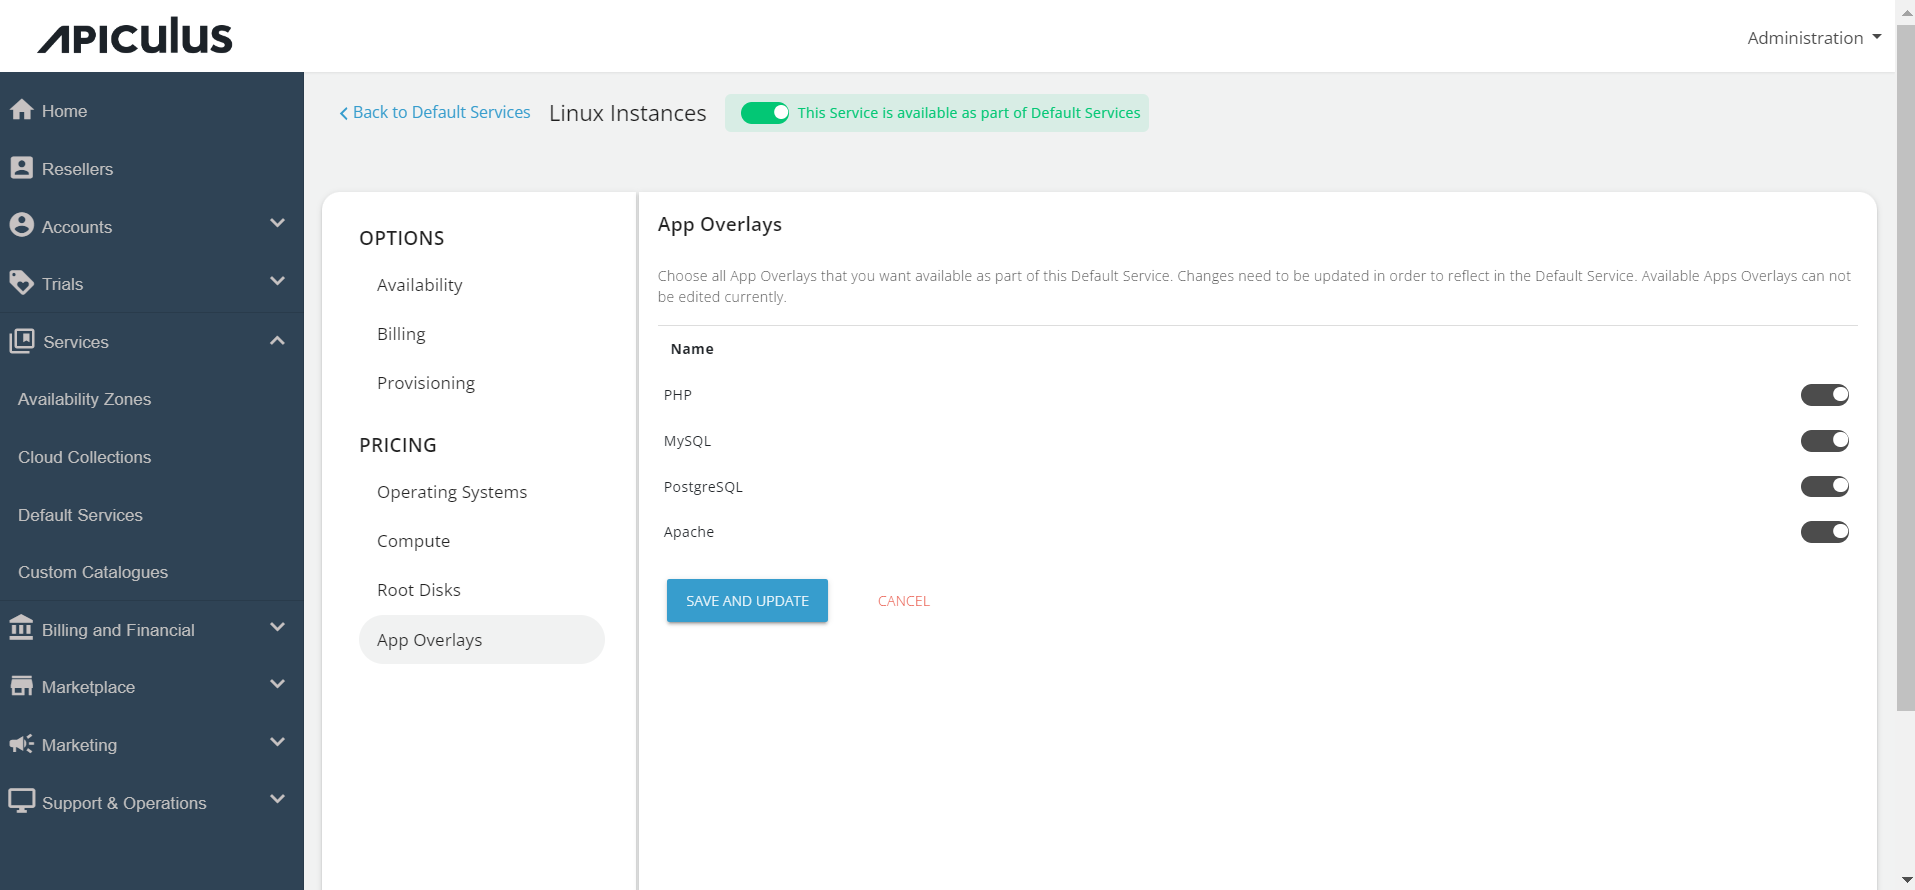
- Under the App Overlays section, select all the apps that you want to provide as part of the default service to the end-users during the deployment of the Linux instance.
- Return to the Default Services and click PUBLISH DEFAULT CATALOGUE.