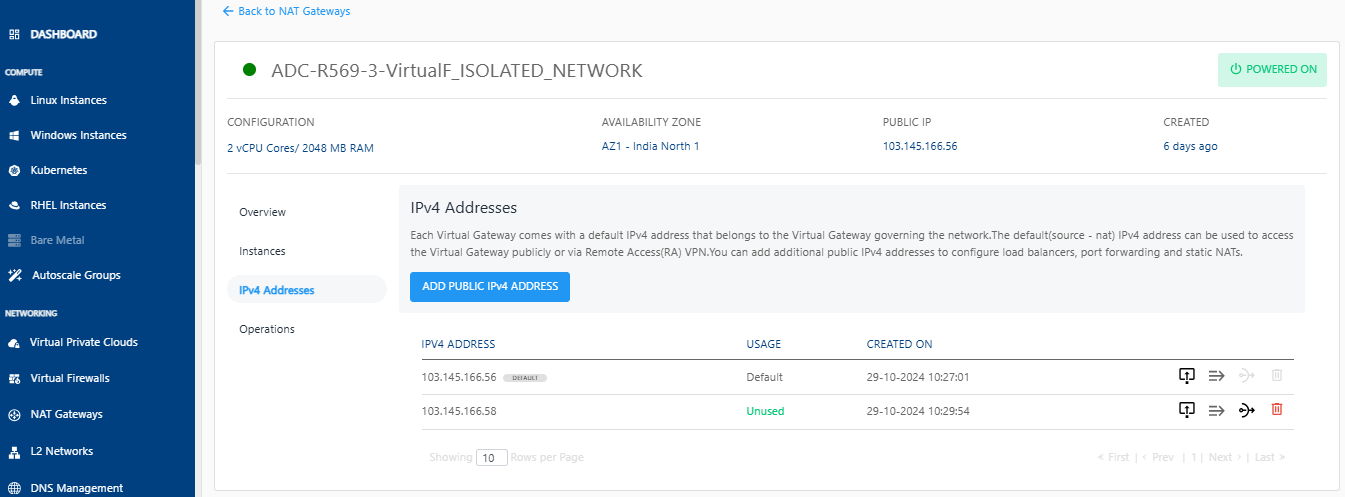
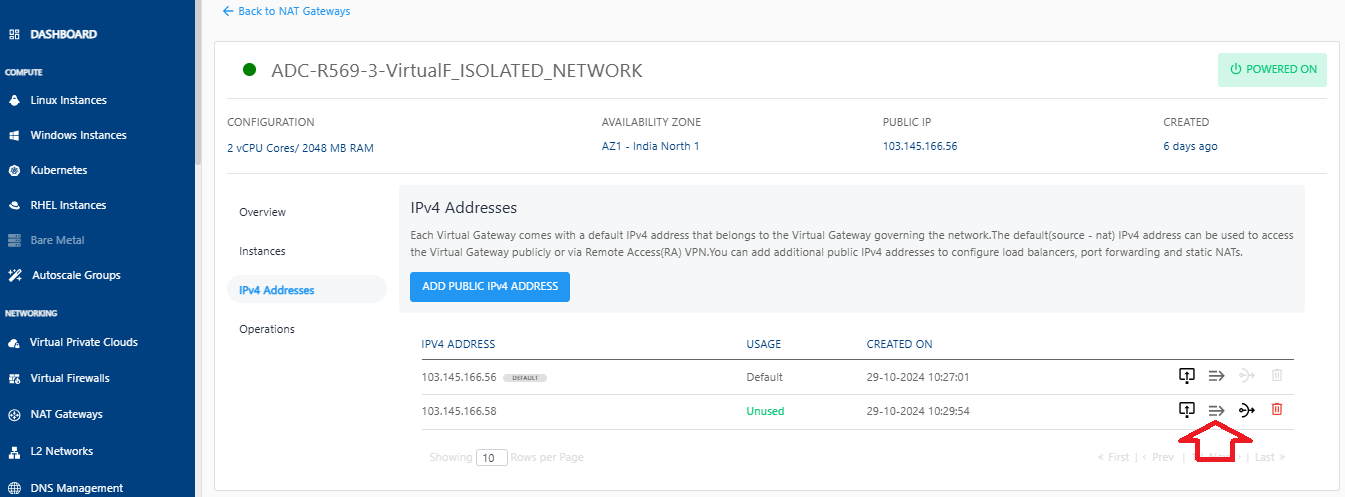
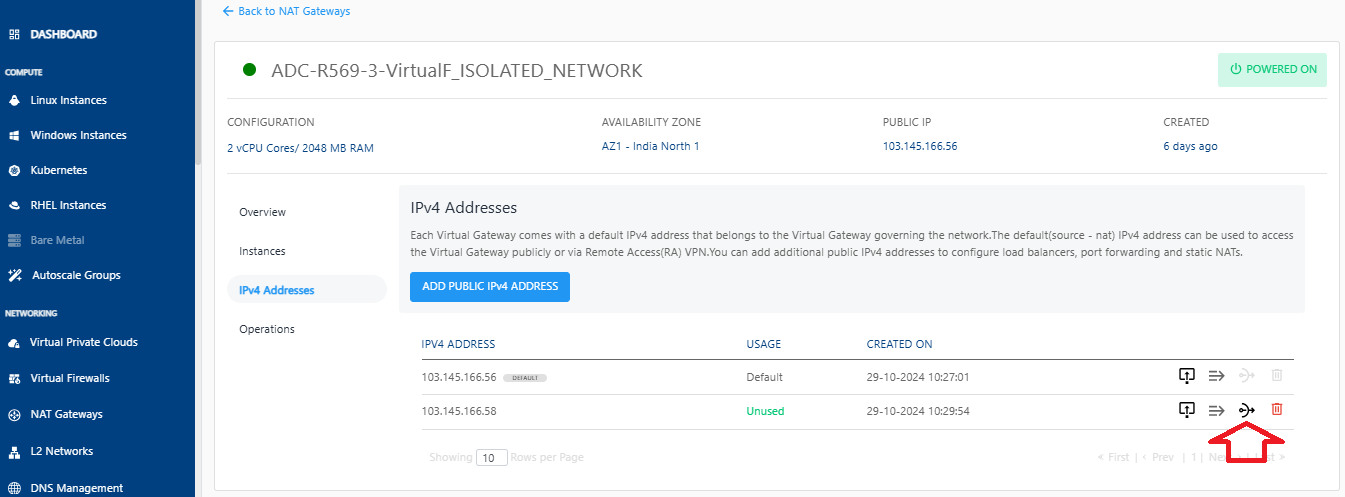
IPv4 Addresses
Each virtual gateway comes with a default IPv4 address that belongs to the Virtual Gateway governing the network. The default (source - NAT) IPv4 address can be used to access the Virtual Gateway publicly or via Remote Access (RA) VPN.
Adding Public IPv4 Addresses
You can add additional public IPv4 addresses to configure firewall rules, port forwarding rules and source NATs.
-
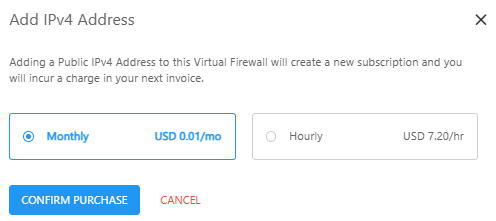
Click the Add Public IPv4 Address button. The following screen appears:
-
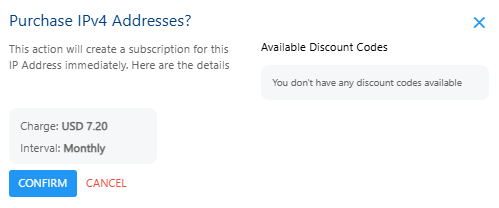
Select the Monthly or Hourly option and then click the Confirm Purchase button. The following screen appears.
-
Verify the details and click the Confirm button to create complete adding a public IPv4 address.
Managing Firewall Rules
- Click the Firewall Rules icon.

- Enter the details as shown to create a new firewall rule.
- Select Traffic Rule from the drop-down list.
- Enter the Source CIDR.
- Select the Protocol from the drop-down list.
- Enter the Start Port.
- Enter the End Port.
- Click on Add Rule.

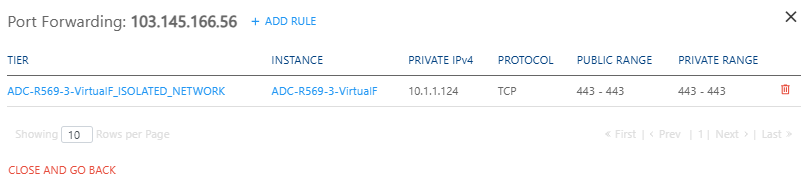
Managing Port Forwarding Rules
-
Click the Port Forwarding Rule icon.
 The following screen appears where you can view the already created port forwarding rules.
 -
To add a new rule, click on Add Rule.
-
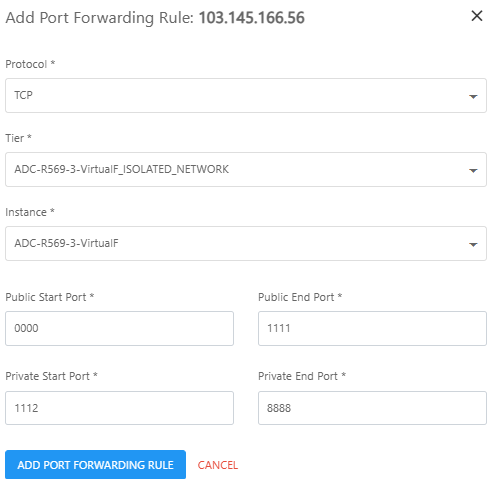
Enter the required details to add a rule.
-
Click the Add Port Forwarding Rule button.
Changing Source NAT IPv4 Address
-
Click the Source NAT icon.
-
Click OKAY.

Deleting IP Address
- Click the Delete IP icon.

- Select the I confirm that I have remove everything from this IPv4 Address option and click the Delete Now button.
 warning
This is an irreversible action.