Configuring Alerts
Alerts get triggered whenever a configured condition is met. You can create multiple alerts on an instance. Alerts are sent to recipients that you can define and manage.
You can configure alerts for instances running on the Apiculus. You can define alerts for Instances and configure the email recipients for these alerts using a straightforward and easy-to-use interface.
To view the configured alerts or configure new ones, navigate to RHEL Instance and access the Alerts tab.
Instance Alerts
The Alerts tab lists all the alerts already configured for that particular RHEL Instance. In addition, it shows the following details:
- The name for the alert
- Parameter
- Trigger When
- Value
- Reading Duration
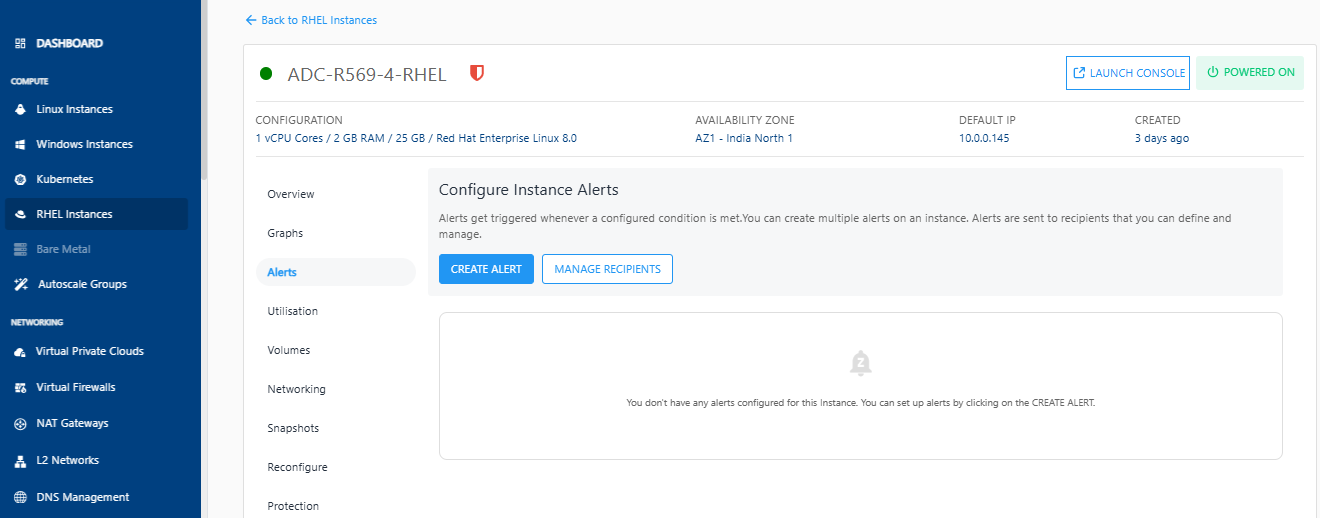
Adding an Alert
You can create or add alerts by clicking the CREATE ALERT button. The following screen appears, and you can configure the alert using the on-screen input form:
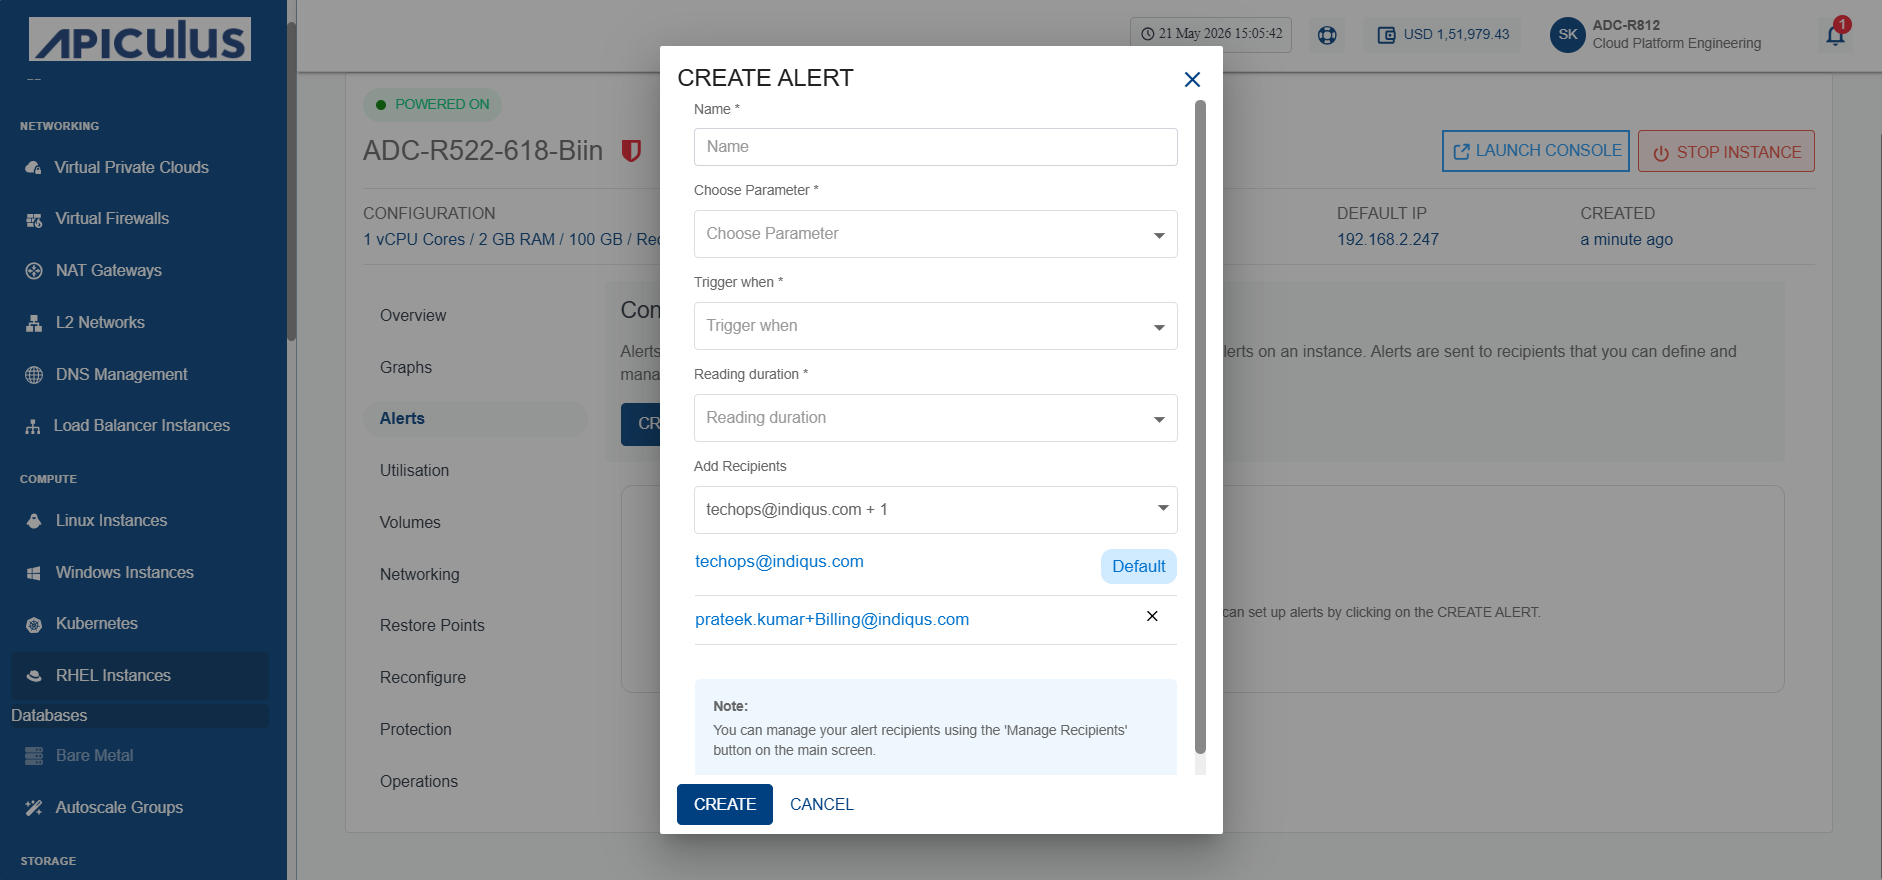
To create an alert, provide the following details:
- Name - You can define the name for your alert.
- Choose Parameter - This option will allow you to define what parameter needs to be monitored to trigger the alert email. Apiculus Cloud supports CPU, RAM, Disk, 1-min Load Average, 5- min Load Average, 15- min Load Average parameters.
- Trigger when - This set of options lets you define whether to trigger above or below a custom value.
- Reading duration - This option lets you define the breach window, i.e., the duration for which the breach has to be consistent to trigger the alert email.
- Add Recipients - You can add recipients from the dropdown.
Managing Recipients
You can delete the existing ids and add other email IDs by following the steps below.
- Click on the Manage Recipients.
- Click on + Add Recipients.
- Select the recipients from the dropdown.
- Click the Update button.
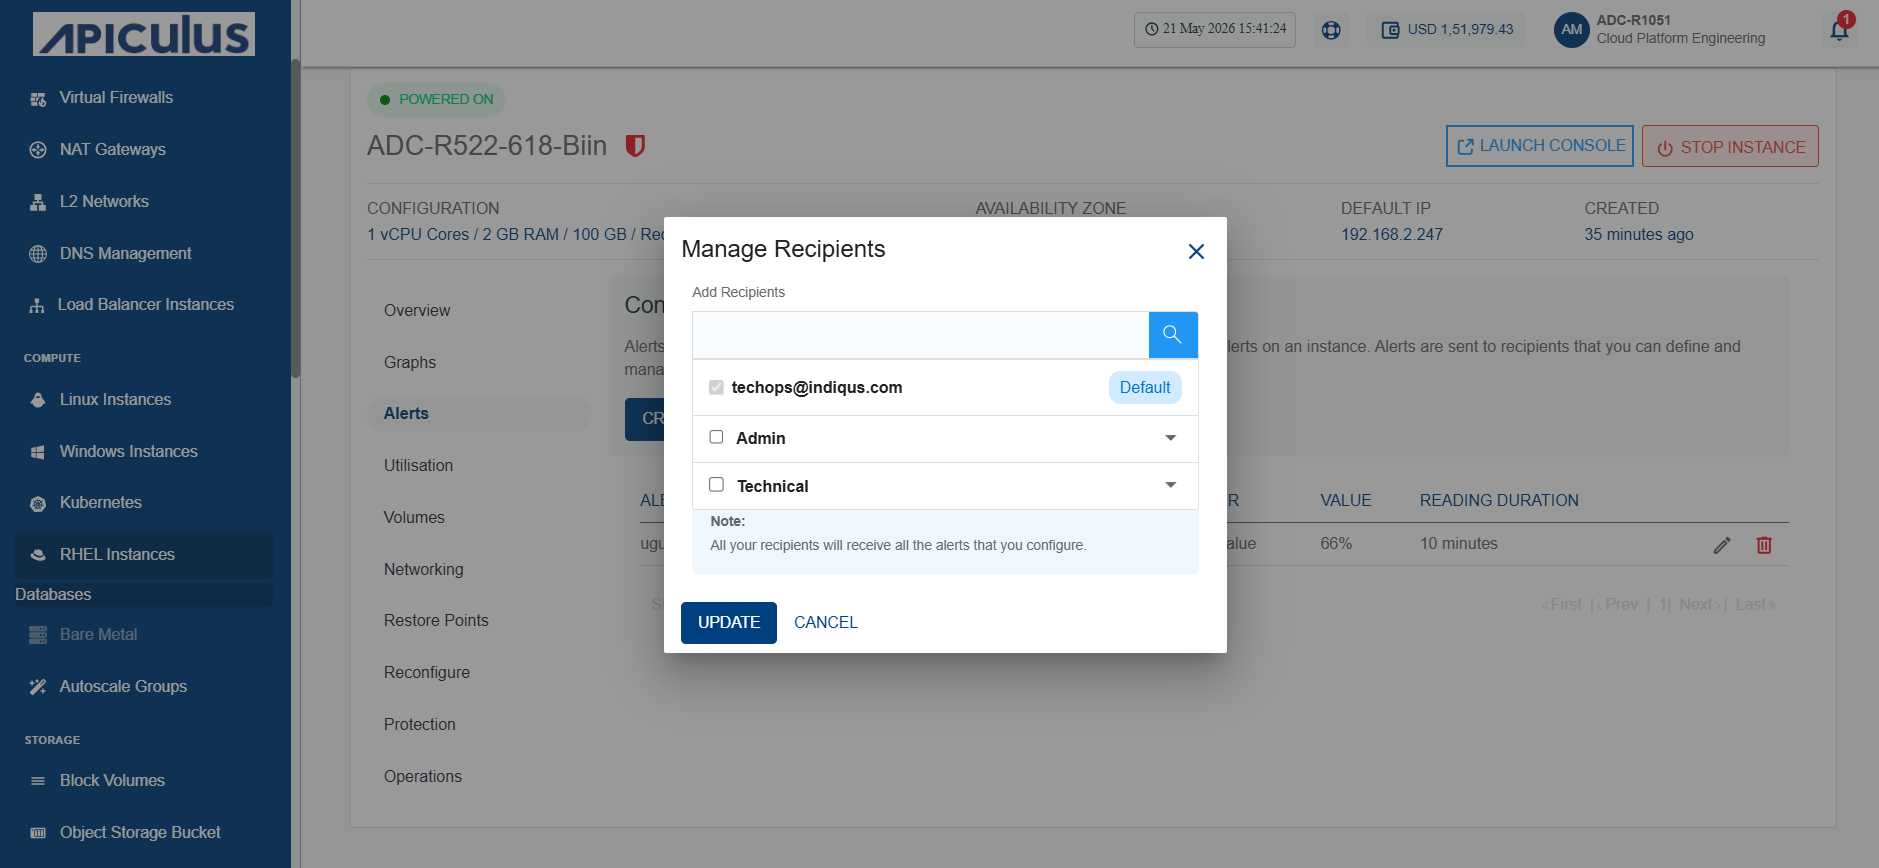
All the recipients will receive all the setup alerts. If no email ID is added, no email will be sent for the already configured alerts.