Assigning Custom Catalogues to Customers
Custom Catalogues can be assigned to one or more customers using the Apiculus Admin Console. This is a guided workflow on the Apiculus Admin Console UI and can be done in simple steps.
-
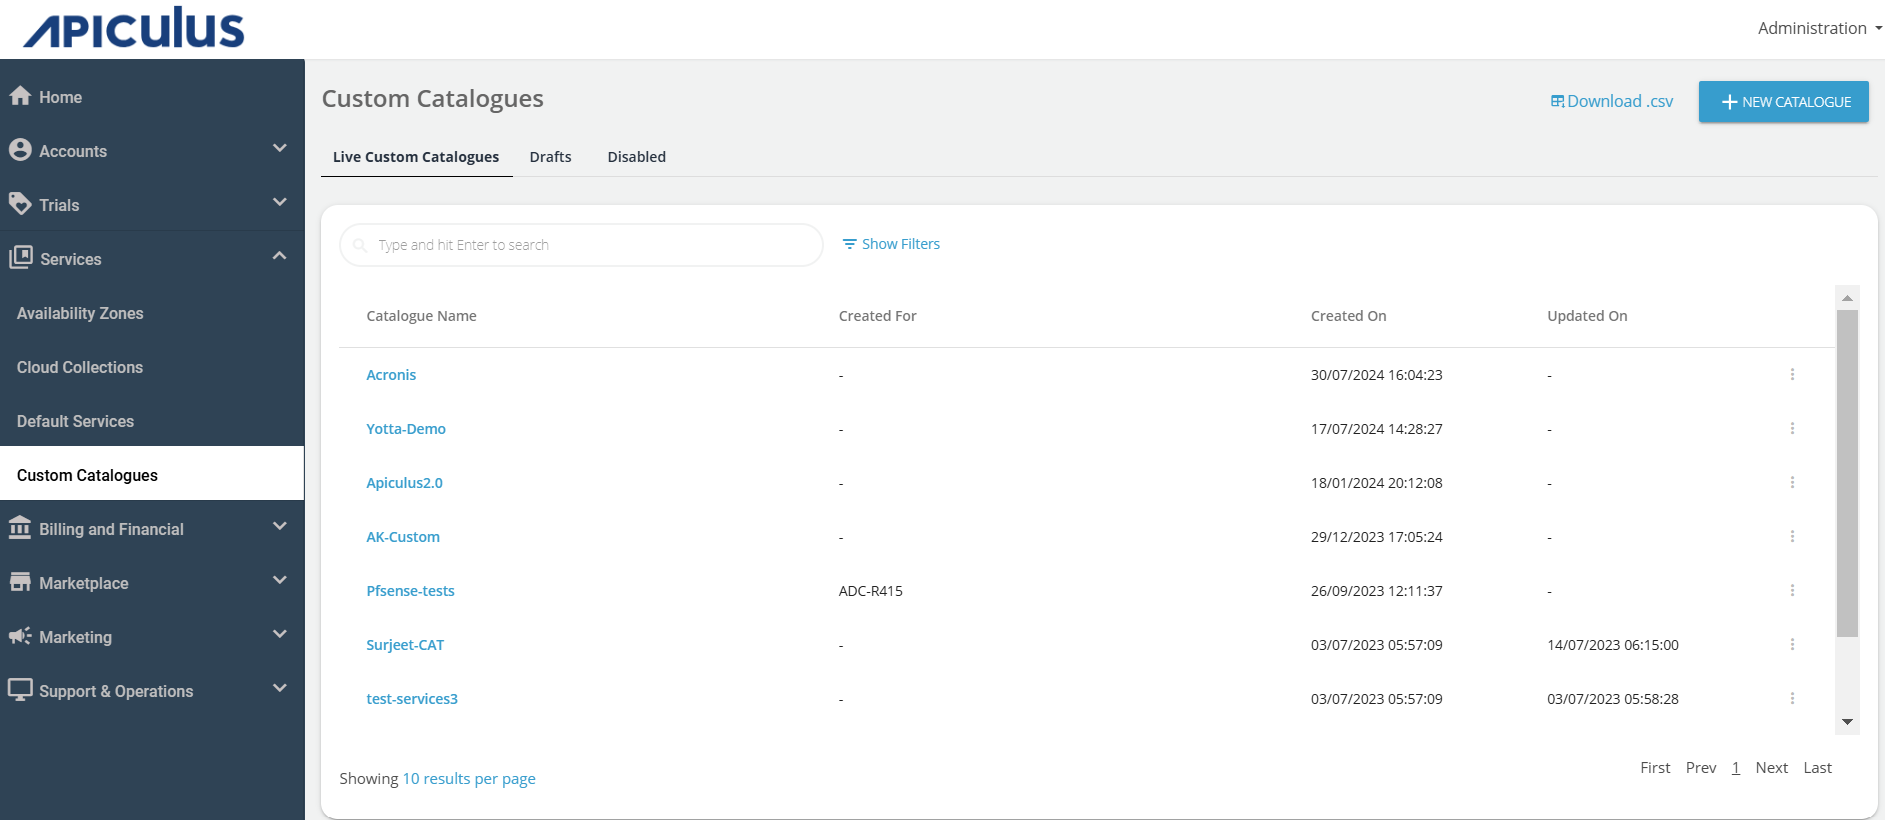
Navigate to Services > Custom Catalogues.
-
Click on the catalogue that needs to be associated with one or more customers.
-
The screen will show how many customers are linked to this catalogue and clicking the counter (greenbutton) at the top will open details of which customers are linked.

-
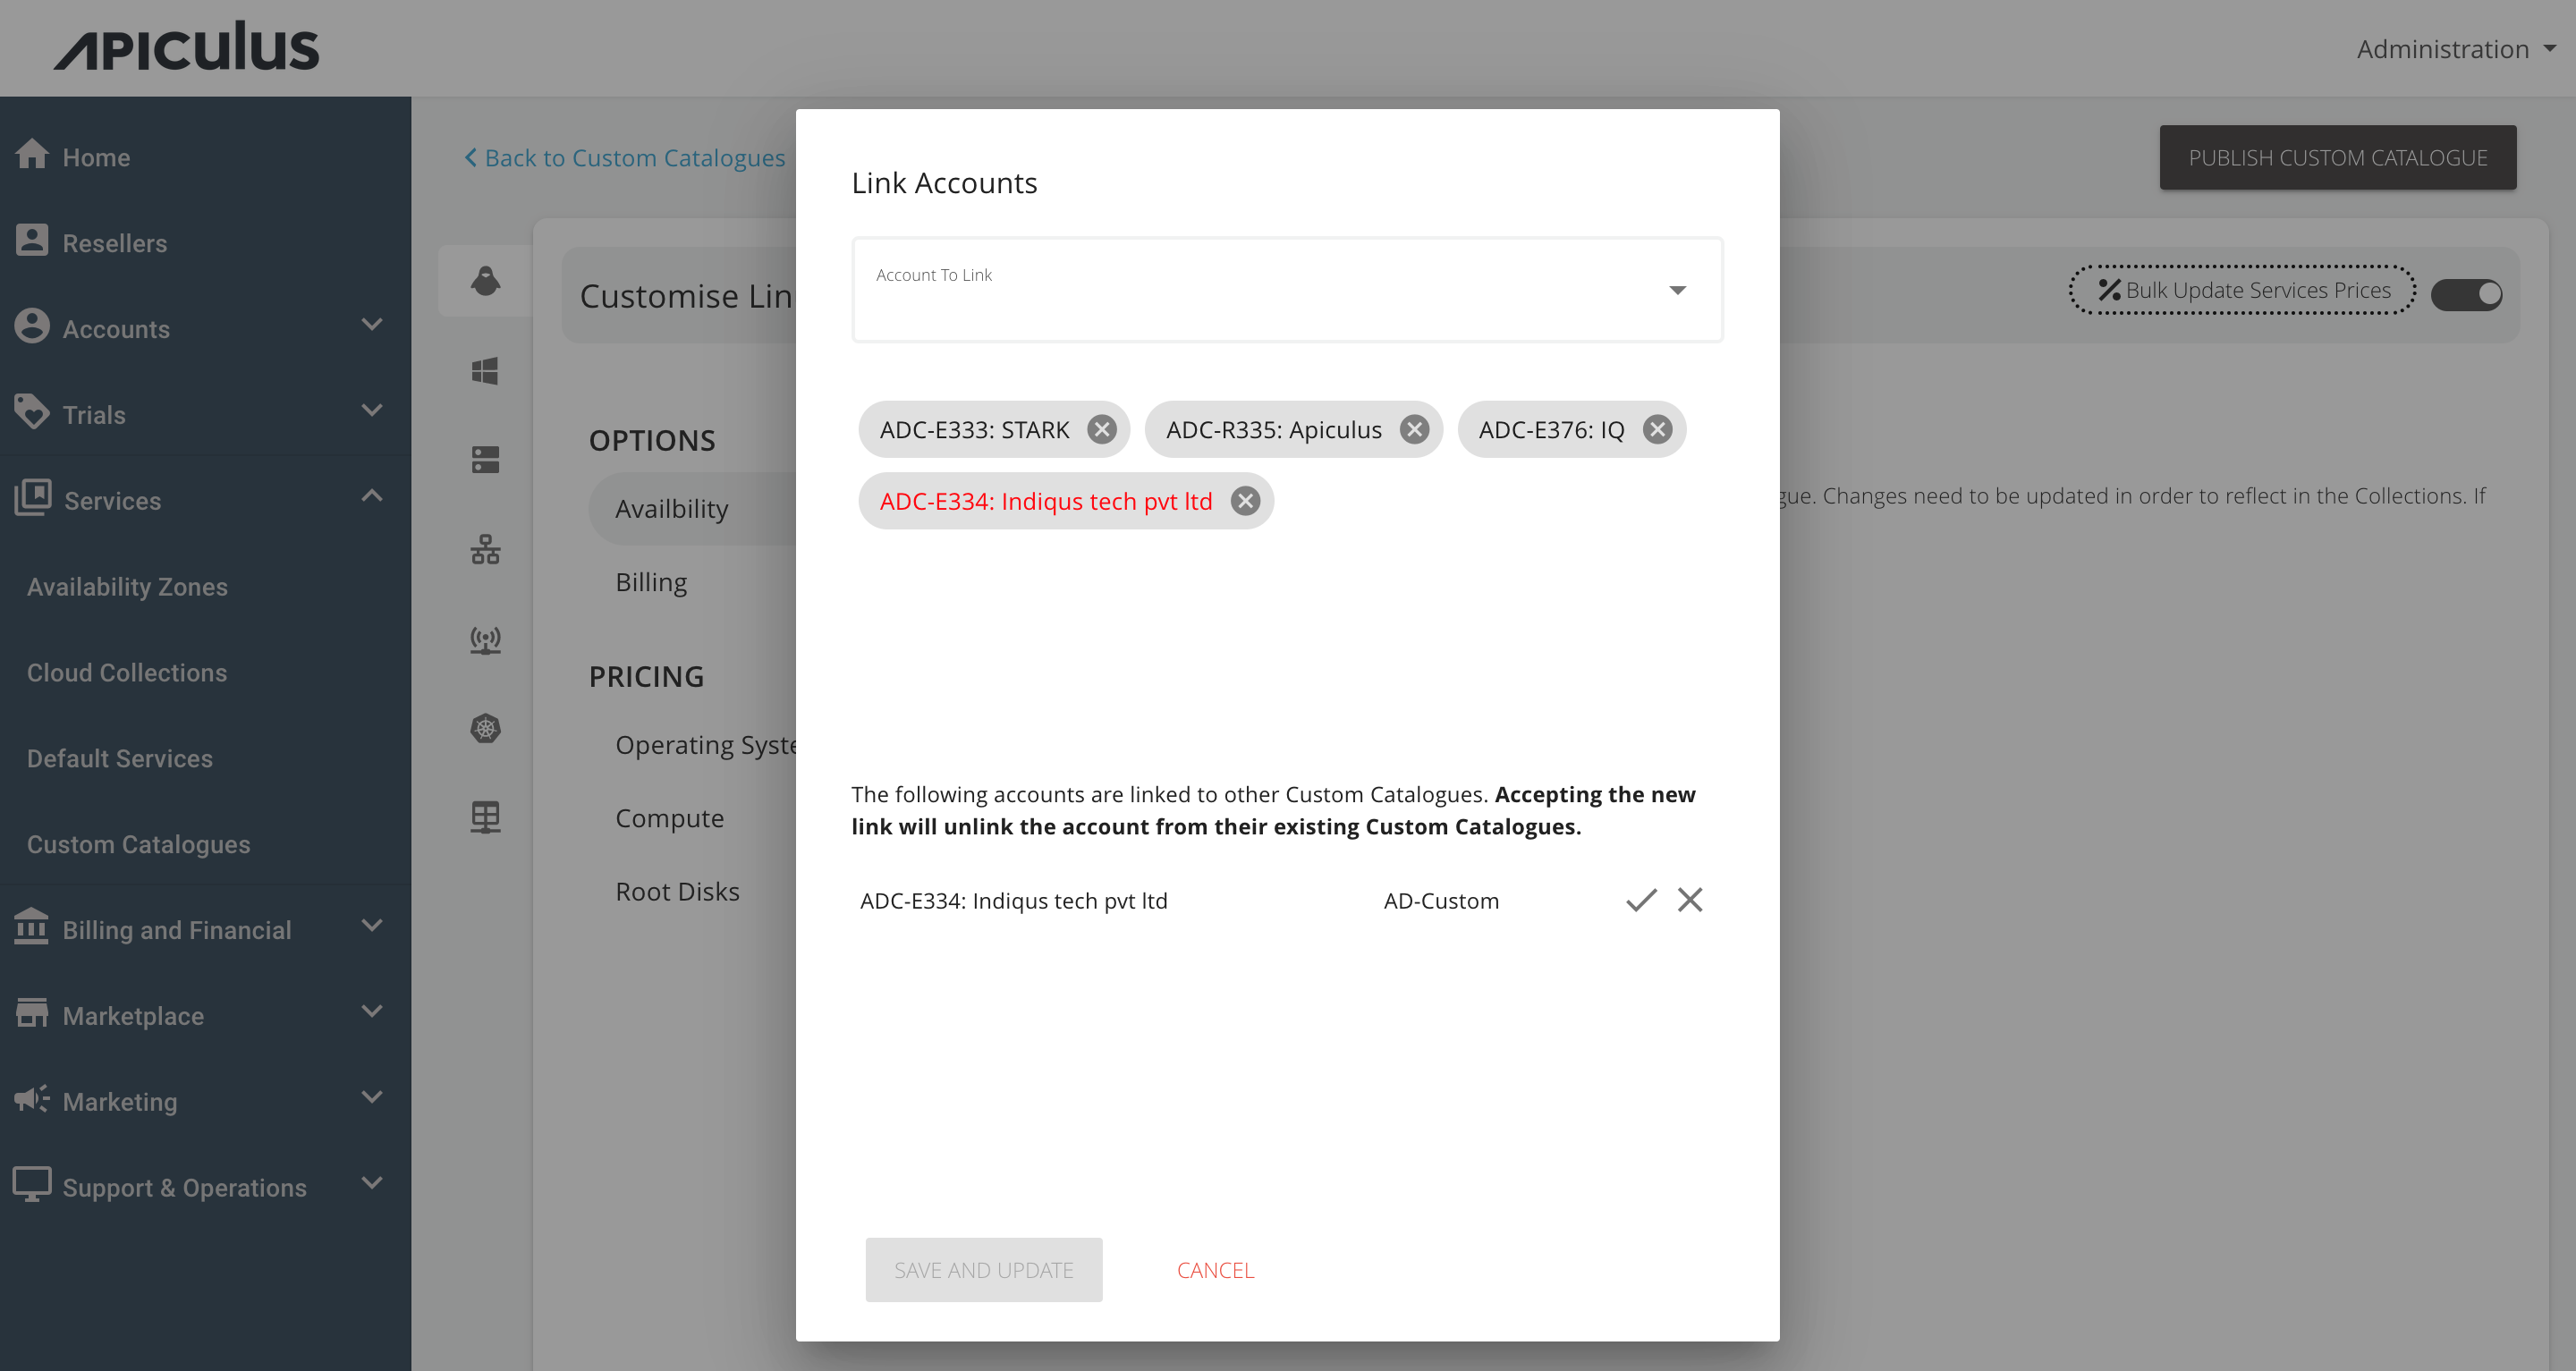
To add more customers, open the Account to Link dropdown and select all the customer accounts that need to be linked to this catalogue.
-
If any of the customers is already linked to another Custom Catalogue, the system will flag it in red and give a prompt to accept this new linkage or retain the existing one.
-
Click on the SAVE AND UPDATE button.
-
Once all the desired changes are made, click the PUBLISH CUSTOM CATALOGUE button.
If the newly-linked customer is already on any resource creation/purchase page on the Apiculus Cloud Console at the time of publishing the changes, their purchase will fail.