Setting Up a Quick Plan Category
Creating a Quick Plan starts with setting up a Quick Plan Category, which helps in organising the quick plans.
Follow these steps to create a category:
- Log in to the Admin Portal. Ensure that you have the appropriate permissions to manage Quick Plans.
- Navigate to Administration > Settings to configure various administrative tasks, including Quick Plans.
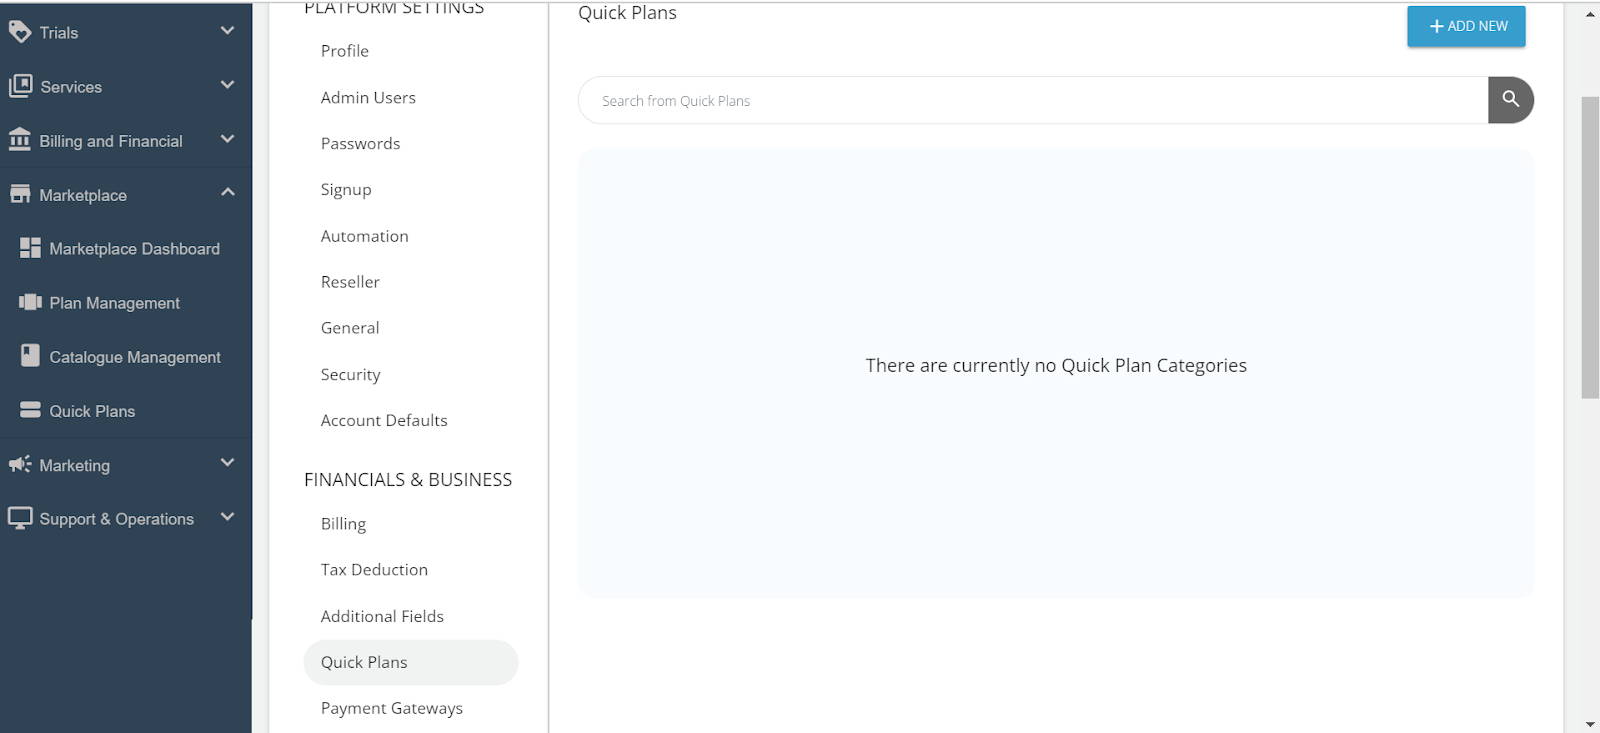
- Under the Financials & Business section, click Quick Plans to manage and create Quick Plan categories.
- Click the ADD NEW button located at the top right of the Quick Plans page.
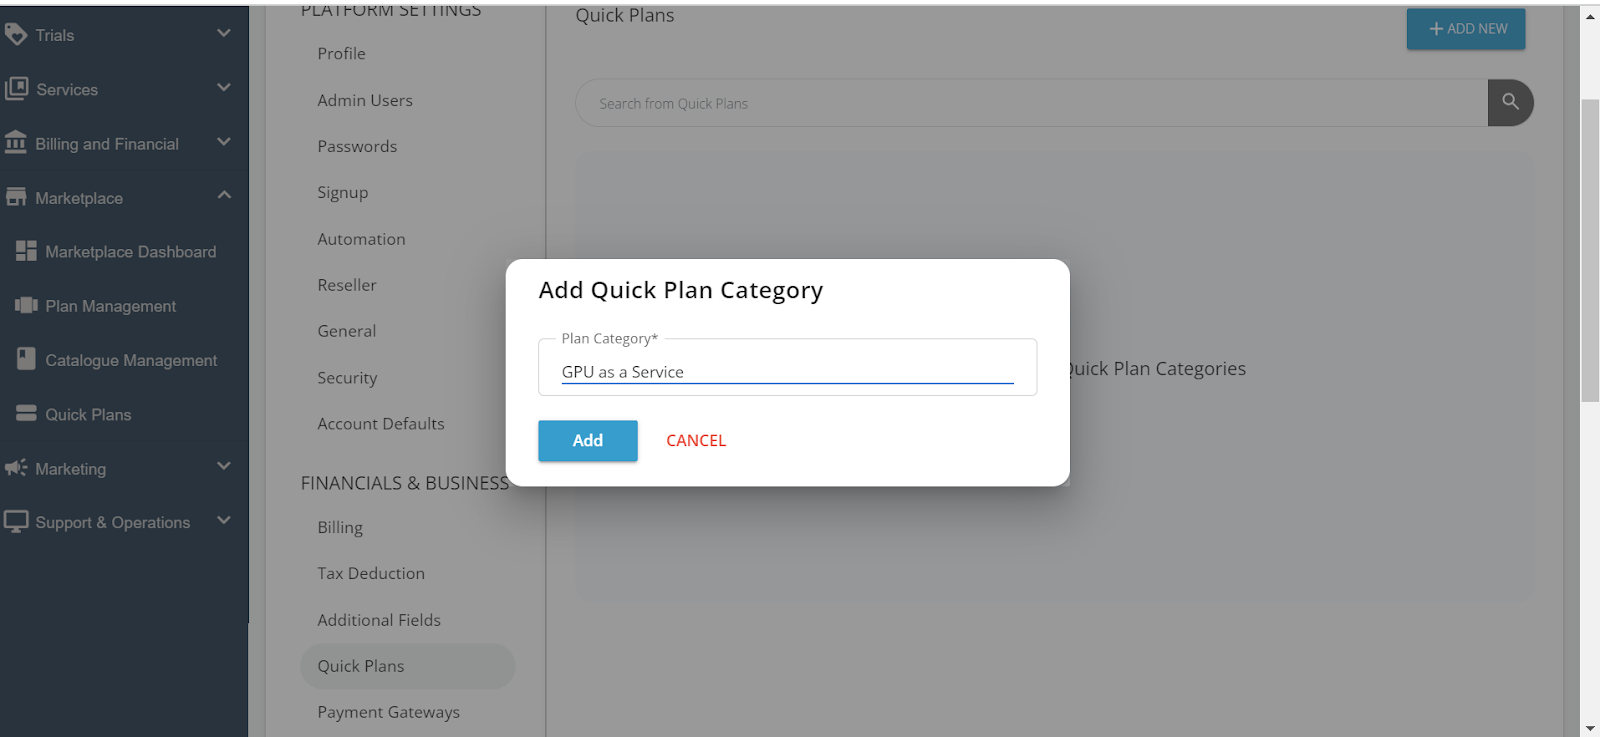
 The Add Quick Plan Category window appears where you can enter the details for the new category.
 - Enter a meaningful name for the Plan Category that clearly describes the type of plans it will contain. Then, click Add.

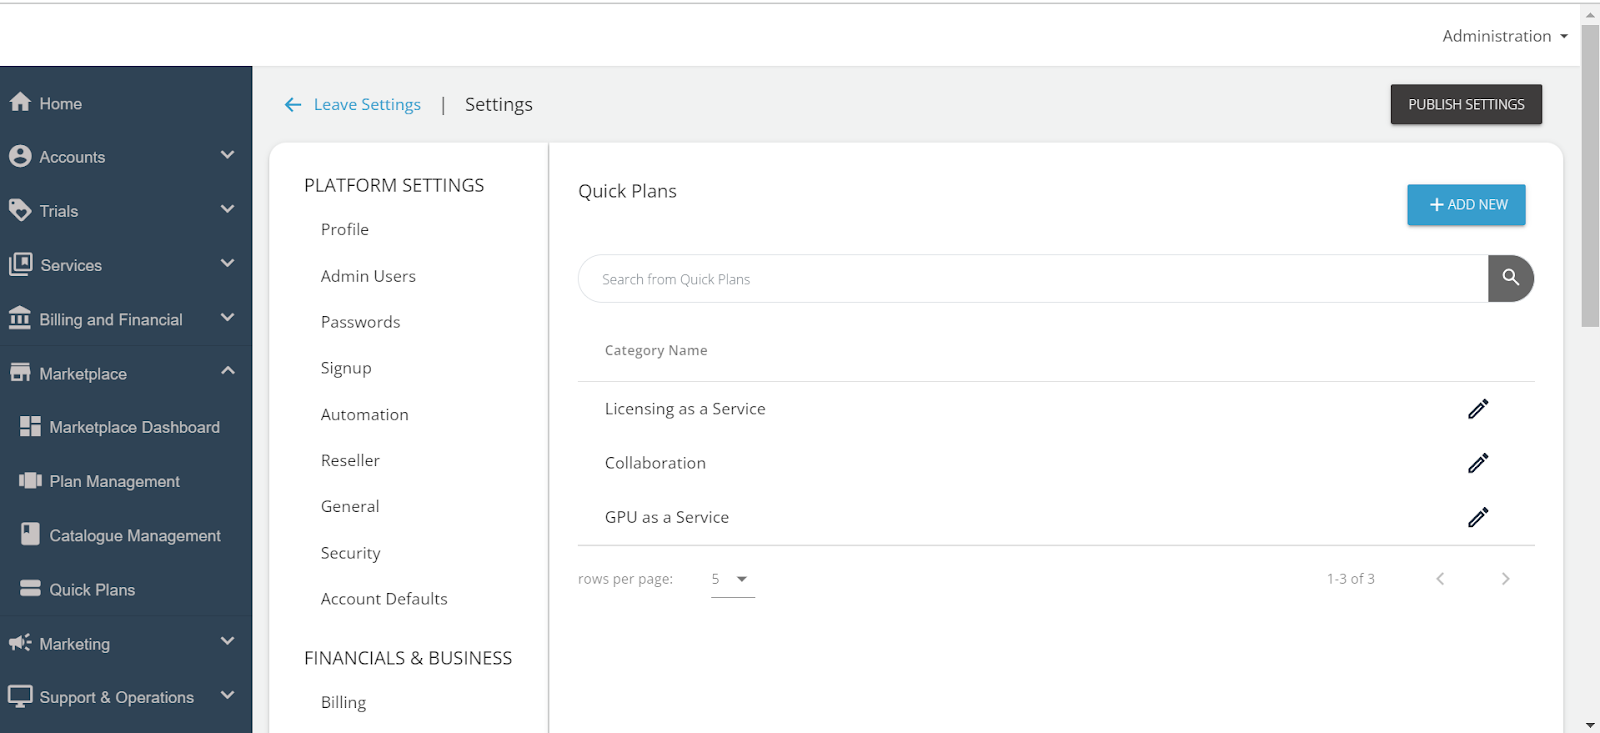
- Repeat as needed. You can create multiple categories to organise different types of Quick Plans. Each category will help users find the Quick Plans relevant to their needs more easily.
