Configuring Load Balancer Instances
To configure DNS, follow these steps:
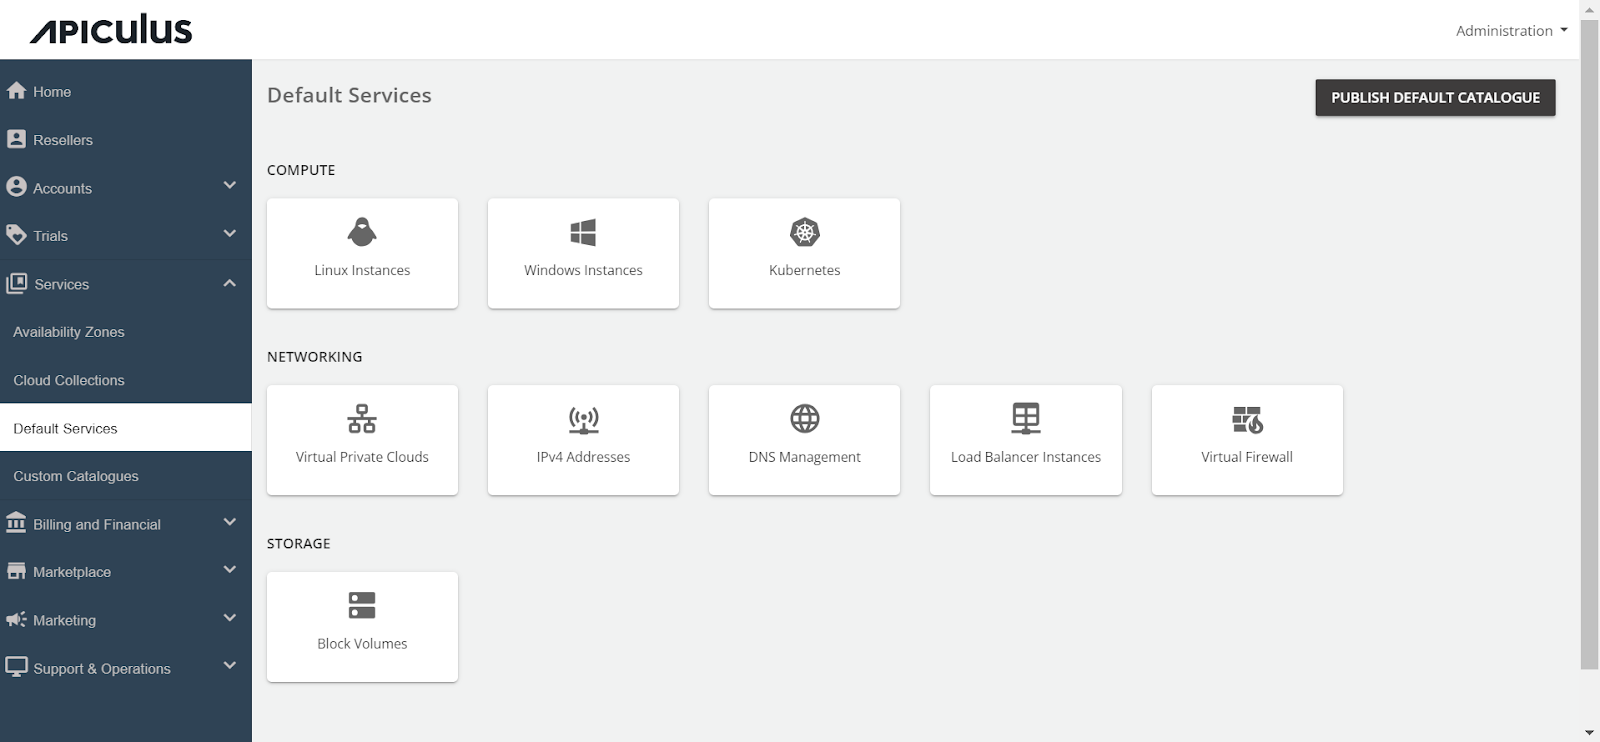
- Navigate to the Default Services.
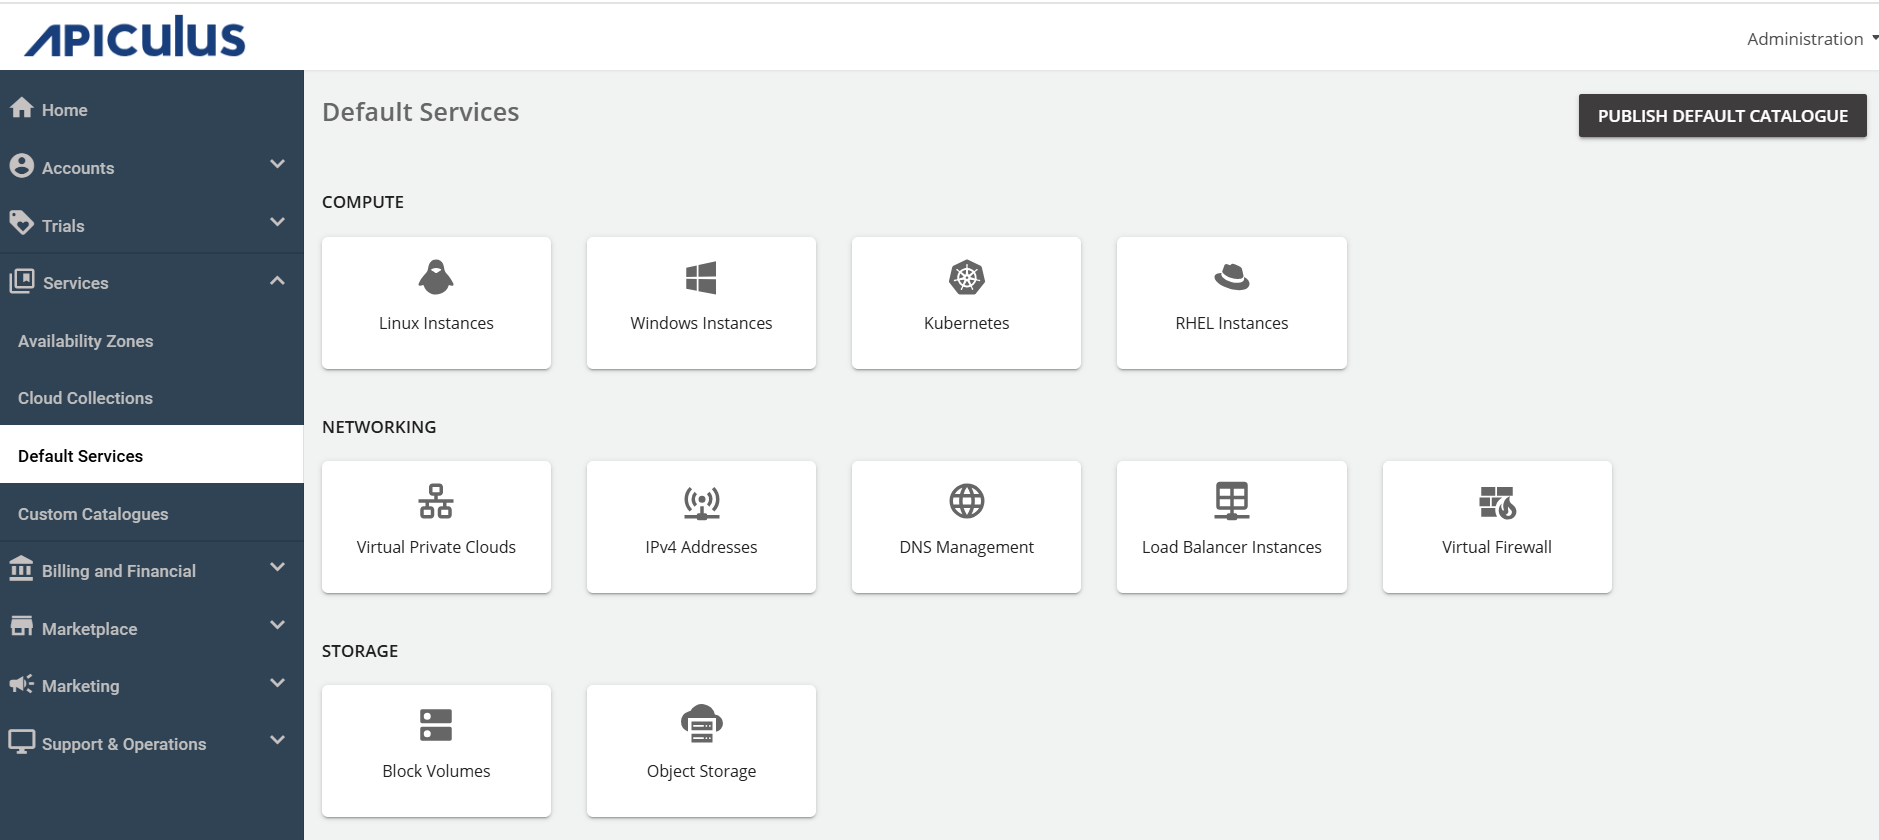
- Under Networking, select Load Balancer Instances.
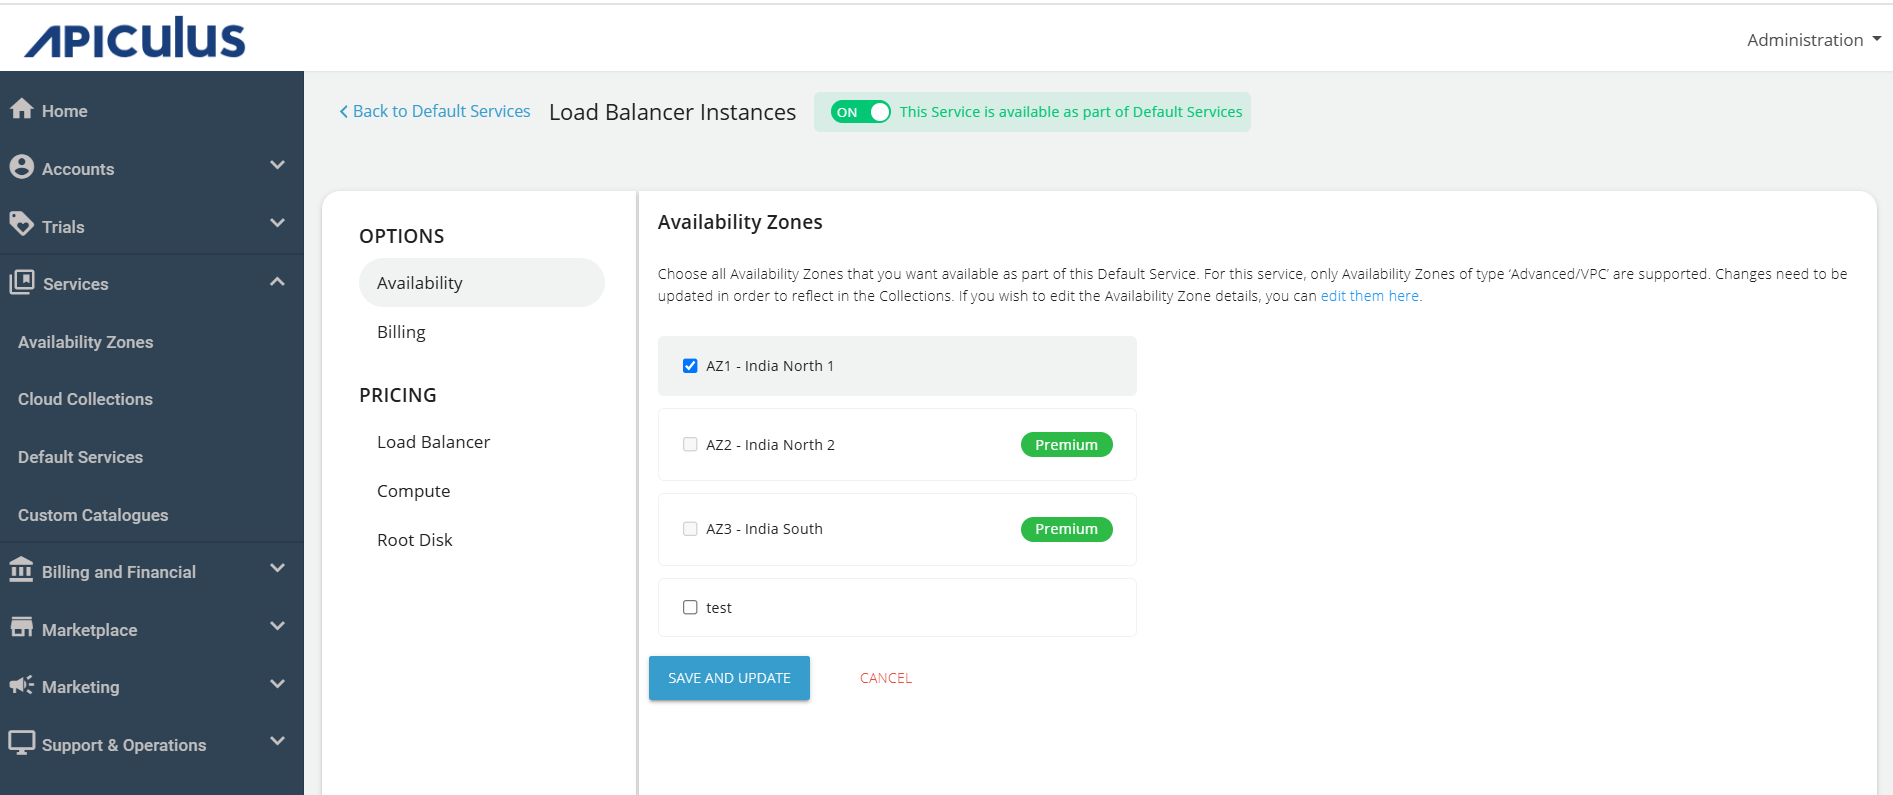
- Activate the switch at the top, indicating the availability of this service as part of the default services. All associated sections will become enabled.
- Proceed to the Availability section. Select the desired availability zones from which you want to deliver the service to the end user, then click Save and Update.
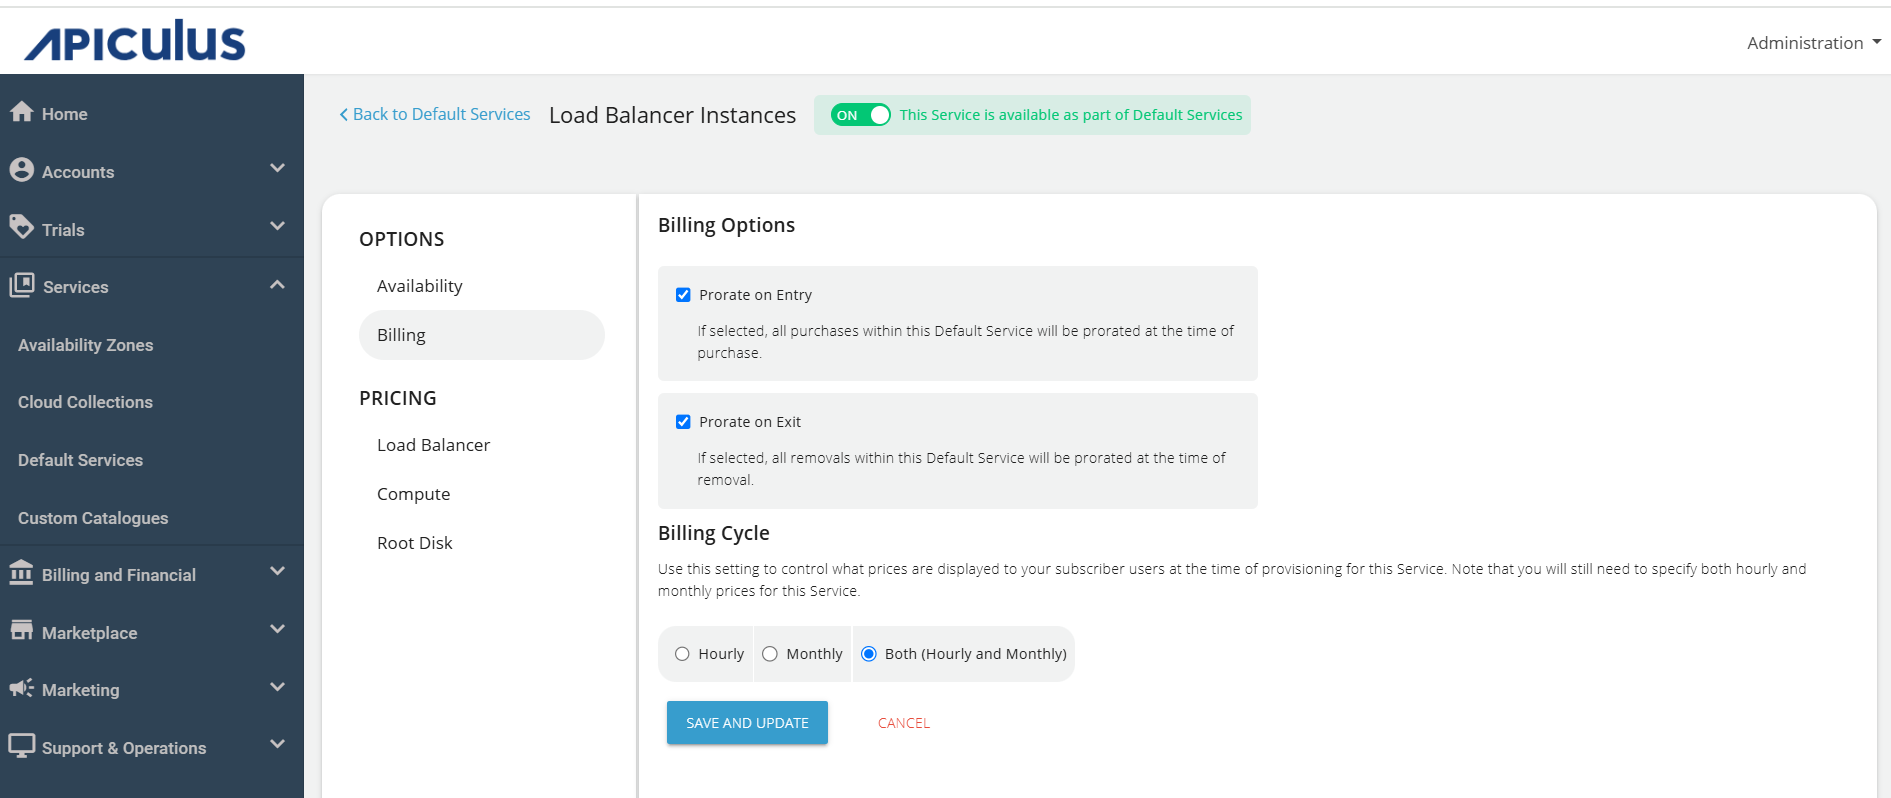
- Under the Billing section, select the Billing Options.
- Prorate on Entry - Purchases will be pro-rated at the time of purchase of services.
- Prorate on Exit - Removals will be pro-rated at the time of removal of services.
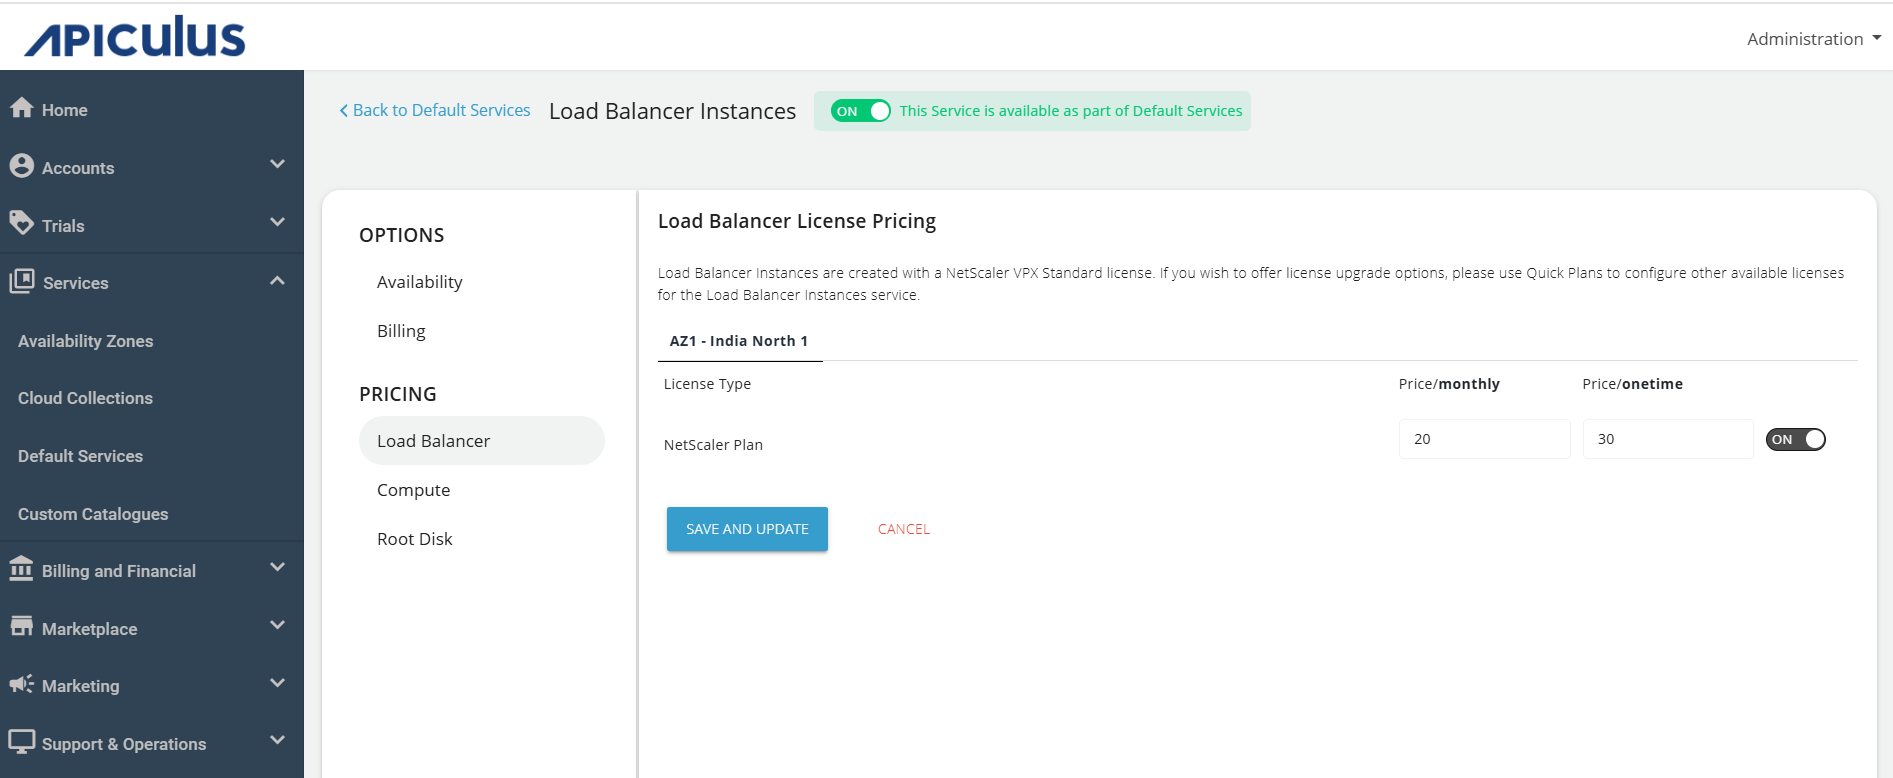
- Navigate to the Load Balancer, edit the price/monthly and price/onetime and click SAVE AND UPDATE.
note
Load Balancer Instances are created with a NetScaler VPX Standard license. If you wish to offer license upgrade options. Use Quick plan to configure other available licenses for the Load Balancer Instances service.
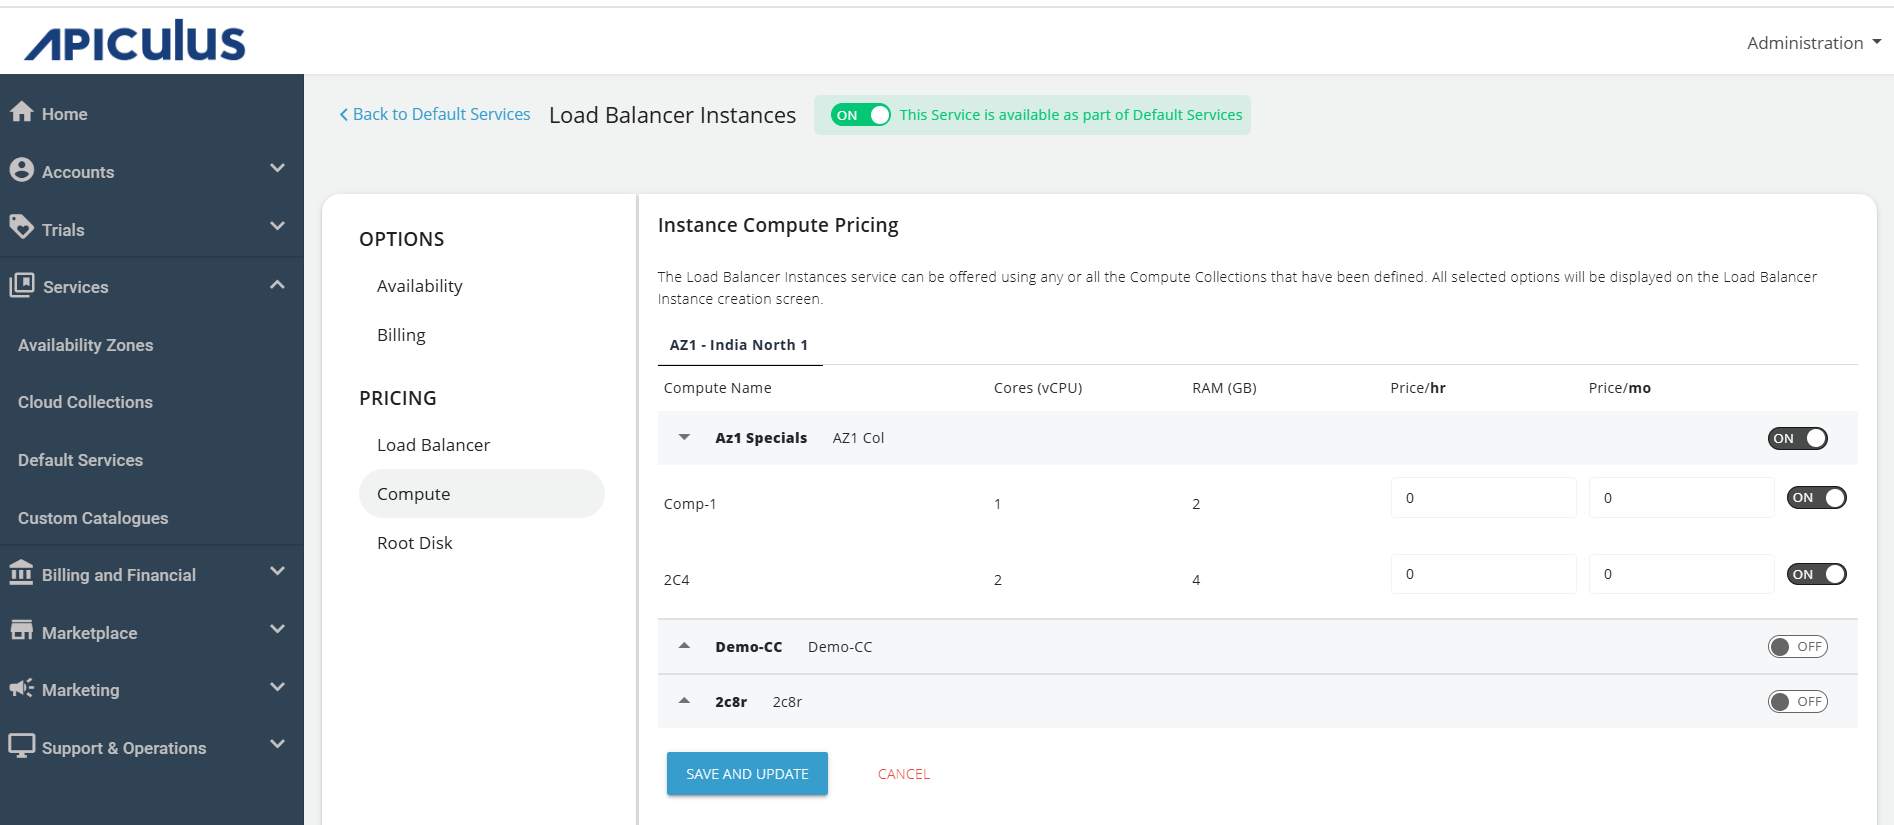
- Navigate to the Compute, edit the Instance Compute Pricing and click SAVE AND UPDATE.
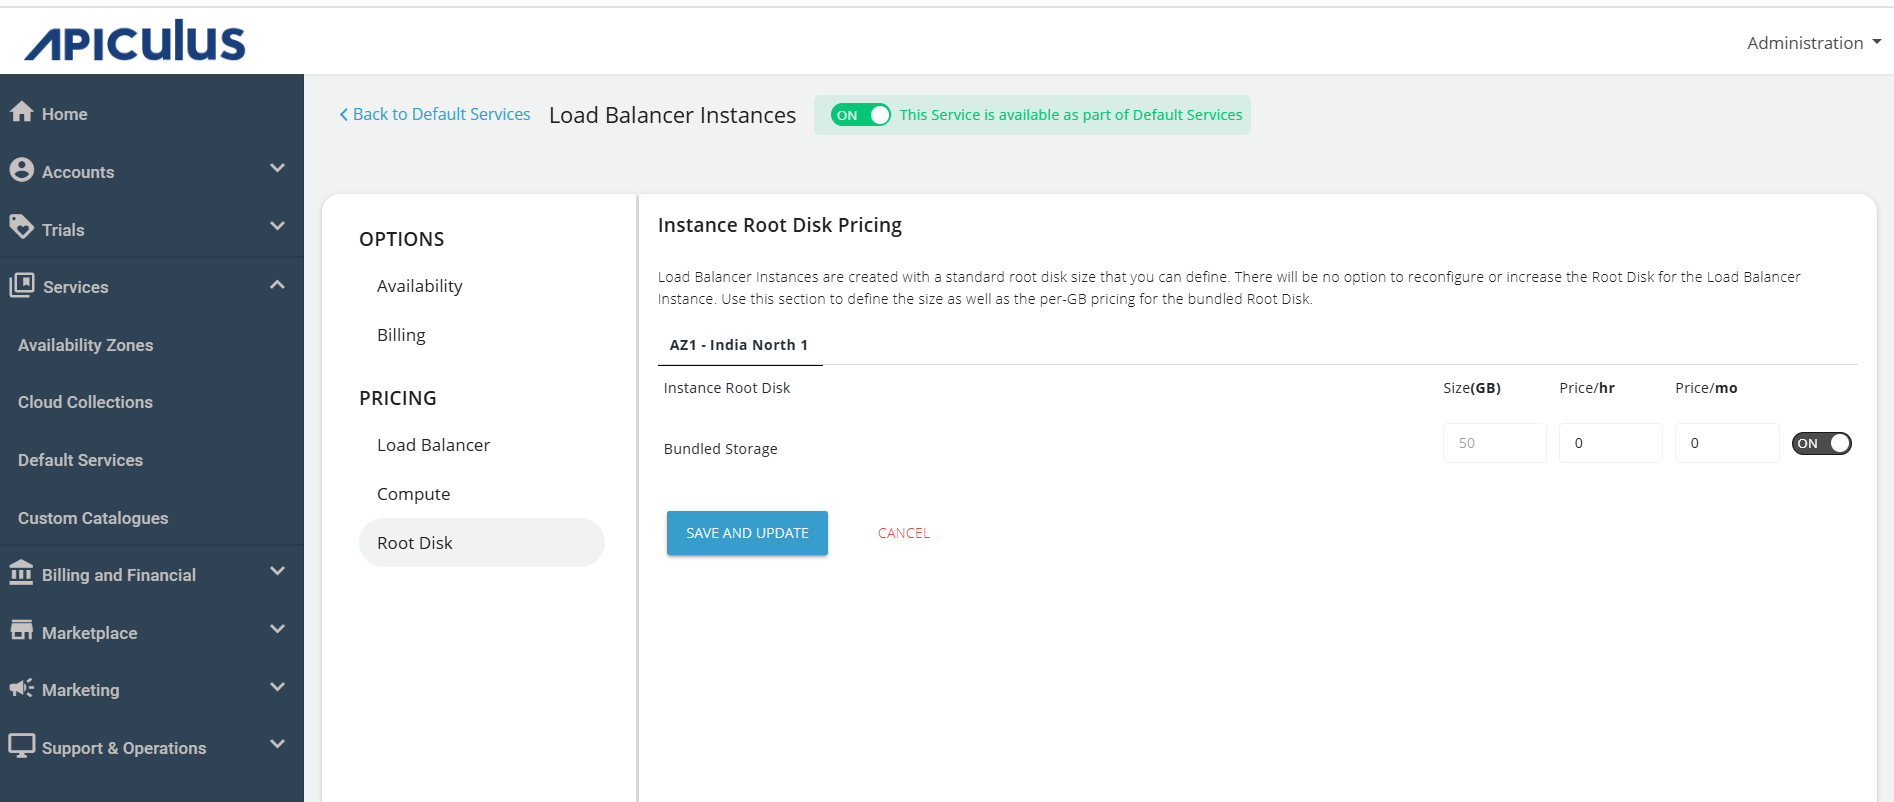
- Navigate to the Root Disk, edit the Instance Root Disk Pricing and click SAVE AND UPDATE.
- Finally, return to Default Services and click PUBLISH DEFAULT CATALOGUE.
